Let’s be honest. You bought the expensive espresso machine. You watched six YouTube tutorials at 2am. You poured with the confidence of someone who definitely knew what they were doing…
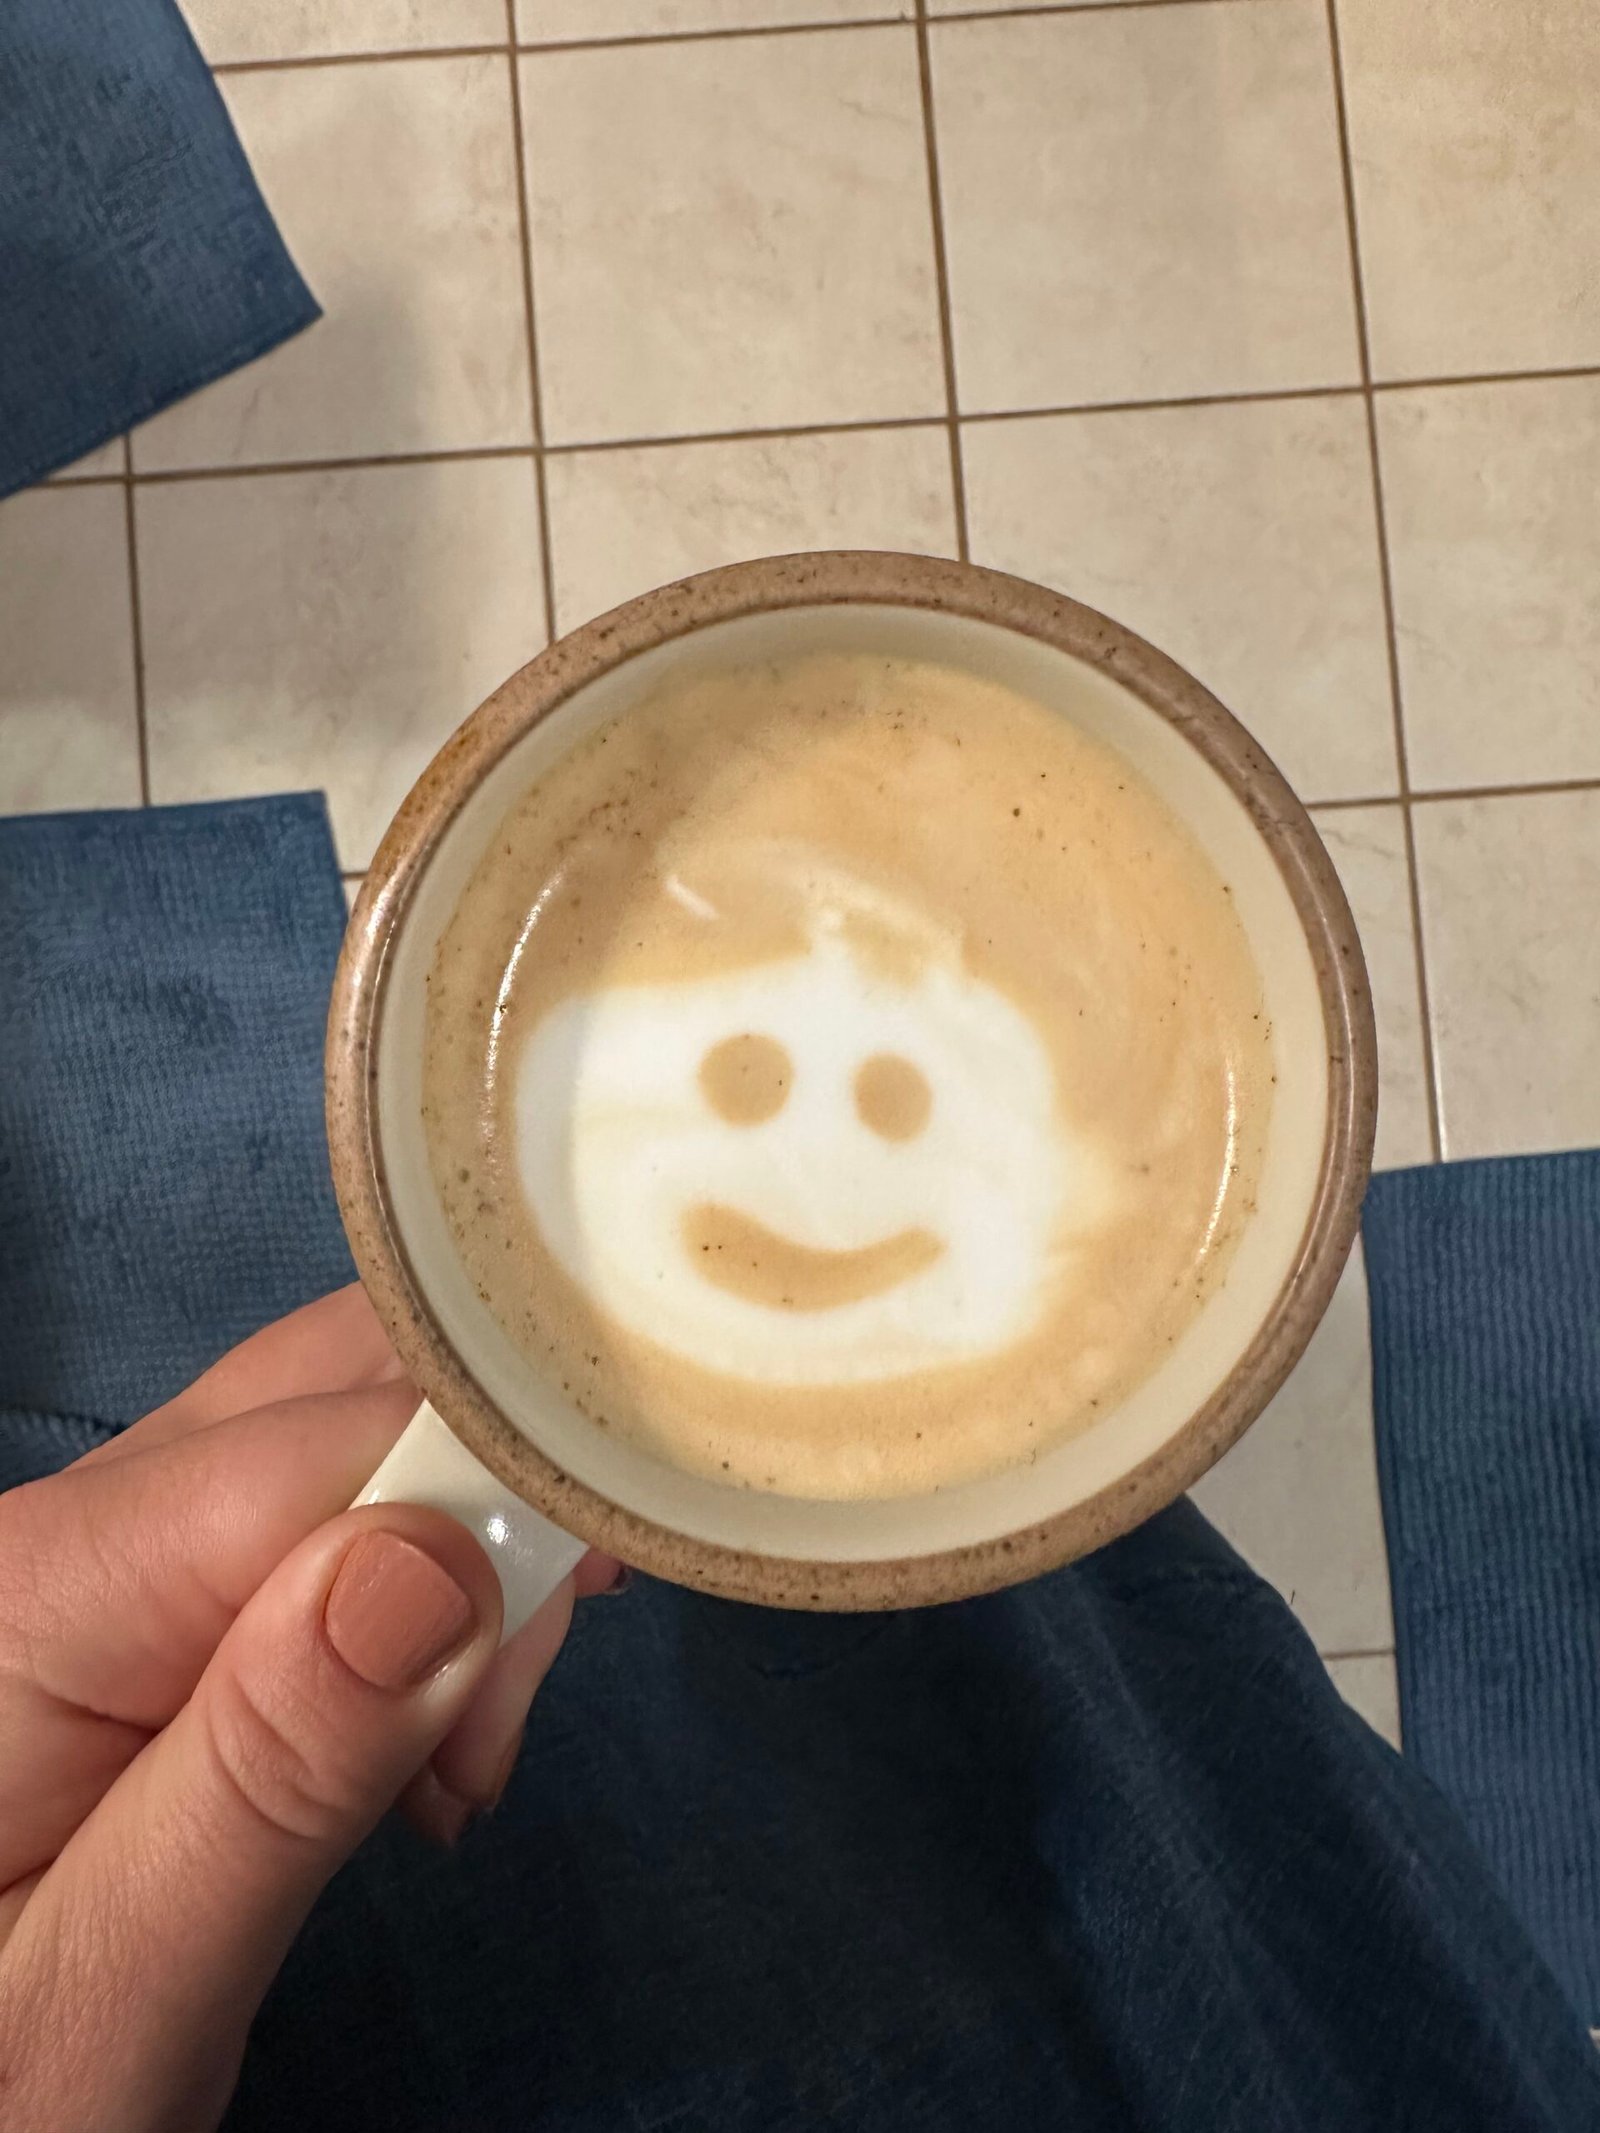
And you got a blob.
A sad, foamy blob that looked nothing like the little flower you were promised.
I’ve been there.
Multiple times.
Standing in my kitchen, staring at a cup that looked more like an abstract donkey than a tulip, wondering if latte art was just a myth designed to make the rest of us feel inadequate.
It is not a myth. It just takes a little technique, a little practice, and knowing what you are actually supposed to be doing with your wrist. Here is how to pour a tulip that actually looks like one.
what you need
- Espresso
- Espresso machine with a steam wand
- Milk (highly recommend whole milk)
- A pitcher with a narrow spout
- A mug that is shaped like a bowl (a round/curved bottom is important!)
get your milk right first
Before you even think about pouring, your milk has to be right. You are aiming for the texture of wet paint, not shaving cream. If your milk is too stiff, nothing you do with your wrist is going to save the pour. A few tips:
- Start with cold milk
- Fill the pitcher no more than halfway, around 8-10oz. Milk expands as it steams, and it needs room to grow
- Insert the steam wand tip so it skims the surface for the first few seconds to introduce air
- Then submerge it fully, but still keep it just below the surface
- Keep the milk angled so the steam wand creates a spinning vortex. Keep the milk spinning in the pitcher the whole time so the texture stays even instead of separating into foam on top and liquid underneath
- Stop steaming 5-10 seconds after the pitcher gets too hot to touch on the sides
- Tap and swirl the pitcher gently right before you pour to keep everything smooth and integrated instead of separated
- Pour immediately so the milk doesn’t get a chance to settle
I do believe it’s easier to learn the art of steaming milk visually, so no worries if you feel overwhelmed after reading all of that.
James Hoffmann, a professional barista, made a thorough YouTube video on this process. This 20-minute video might be the key to unlocking latte art for the rest of your life, so I definitely recommend it 😉
Now onto the pour…
the pour, step by step
- Hold your mug at a slight angle
- Start high, start thin. Pour from a few inches above the cup. Only pour a thin stream of milk. (Analogy! –> Picture a water pitcher with ice in it–if you pour in a thin stream, then the ice won’t come with the water. Similarly, if you pour in a thin stream with the milk, the foam won’t come with it)
- Drop down and get close. Once the cup is about half to 3/4 full, bring the pitcher spout close to the surface, almost touching it.
- Pour first tulip stack. This is not a thin stream like the step above. (Analogy continued! –> pour some ice cubes out of the pitcher)
- Move backward as you go. With each stack, move the pitcher slightly back toward the edge of the cup. Each pass creates one more petal, stacked on top of the last. I think aiming for three stacks to start.
- Finish with the stem. On the last stack do not stop pouring. Instead, lift the pitcher slightly so it changes into a thin steam again and pour a thin line straight through the middle of the petals. This pulls everything together into the shape of a tulip.
the most important step:
Most people skip this.
Don’t be mindlessly attempting latte art over and over and over.
Each attempt, take time to notice what you did right, what you did wrong, and what you could do differently next time.
if it does not work the first time
It will not.
Mine did not.
Latte art is one of those things that looks like magic until you realize it is just muscle memory nobody warned you about. The difference between a blob and a tulip is usually the correct milk consistency and a whole bunch of practice.
So, be patient with yourself. Have fun! If you don’t get it right away, then allow your little abstract blobs to make you laugh and smile until your latte art practice starts to pay off.
Follow along on Instagram to see my latte art journey!
1 Peter 4:12-13
🙂
Leave a Reply