Tag: coffee equipment

  • The Ultimate College Dorm Room Coffee Bar Setup (Barista & College Student Approved!)

    The Ultimate College Dorm Room Coffee Bar Setup (Barista & College Student Approved!)


    If you’ve been dreaming about creating your own dorm room coffee bar but aren’t sure where to start, you’re in the right place.

    Hi! I’m Annaliese, a college student, coffee enthusiast, and barista with over three years of experience. Throughout college, I’ve built a coffee setup that fits in a dorm room without sacrificing the quality of the drinks I love. If you want to see my coffee setup in real life, you can follow along on my Instagram HERE. I also do little pop-up coffee shops in my dorm hall on campus!

    If you’re tired of spending $8 on a latte before class, looking for a cozy study companion, or simply want to make your dorm feel a little more like home, creating a coffee bar is one of the best investments you can make during college.

    This guide combines my experience as both a barista and a college student to walk you through everything you need—from choosing the right espresso machine and grinder to organizing your space and stocking your favorite flavors and accessories. I’ll also share a few tips I’ve learned from living with a coffee bar in a small dorm room, so you can avoid common mistakes and make the most of your setup!

    Let’s build the dorm room coffee bar of your dreams—without breaking the bank (woohooo!)


    Before You Buy Anything

    Before you start shopping, take a few minutes to check your residence hall’s policies.

    Some dorms have restrictions on certain appliances or maximum wattage limits. Others may require that appliances have an automatic shut-off feature. Every school is different, so it’s always worth checking your housing handbook before making any purchases.

    You’ll also want to think about how much space you actually have.

    Ask yourself:

    • How much countertop space is available?
    • Will your roommate also use the coffee bar?
    • Do you have room for a rolling cart or shelving?
    • Will you mostly make hot drinks, iced drinks, or both?
    • Do you have access to a fridge?

    Planning ahead will help you choose equipment that fits both your space and your lifestyle.


    Money-Saving Practices for Your Coffee Bar

    A dorm coffee bar can absolutely be budget-friendly if you build it with intention.

    One of the best ways to save money is to start small. You do not need to buy every accessory, syrup, and gadget all at once. Begin with the essentials and add to your setup over time as you figure out what you actually use.

    Here are a few practices that can help keep costs down:

    • Buy used when possible. Espresso machines, carts, mugs, and organizers can often be found secondhand for much less than retail price (here’s your excuse to go thrifting or to shop on Facebook marketplace 😉 ).
    • Stick to a few syrups or flavorings you know you’ll use. It’s easy to get carried away with trendy flavors, but a small collection goes a looooong way. (Honey, Brown Sugar, Maple Syrup, Vanilla, Caramel, and Mocha are your best friends)
    • Use reusable cups and glasses (these can be thrifted too!). This cuts down on waste and saves money over time.
    • Share supplies with your roommate or friends if it makes sense. Things like sweeteners and coffee beans can be split to lower the cost.
    • Watch for student discounts, seasonal sales, and bundle deals. Coffee gear often goes on sale around holidays or back-to-school season.
    • Take advantage of your meal plan (if you are on one). Instead of buying milk, I filled up a small jug of milk at my dining hall every now and then and used that for my coffees.
    The goal is to create a setup that feels enjoyable without turning into a financial burden 😉  


    Choosing the Right Coffee Maker

    Your coffee maker is the centerpiece of your coffee bar, so it’s worth spending a little time deciding what fits your needs.

    If you love lattes, cappuccinos, and other espresso-based drinks, an espresso machine is probably the best choice. I created a list of budget friendly dorm room espresso machines. Click HERE for the list.

    If you like to keep things convenient and simple with drip coffee, the Mr. Coffee Mini Brew might make more sense.

    There’s no single “right” choice. The best coffee maker is the one that fits your budget, your available space, and the types of drinks you enjoy most.


    Beginner Espresso Setup: What to Buy First


    Fresh Coffee Starts with Freshly Ground Beans

    One of the biggest upgrades you can make to your coffee is grinding your beans fresh.

    Whole beans stay fresh much longer than pre-ground coffee, and freshly ground coffee preserves more of the aromas and flavors that make each cup taste great.

    If you’re purchasing a grinder, a burr grinder is truly worth the investment because it produces a much more consistent grind size.

    I personally have two burr grinders and both are great for different purposes. They are…

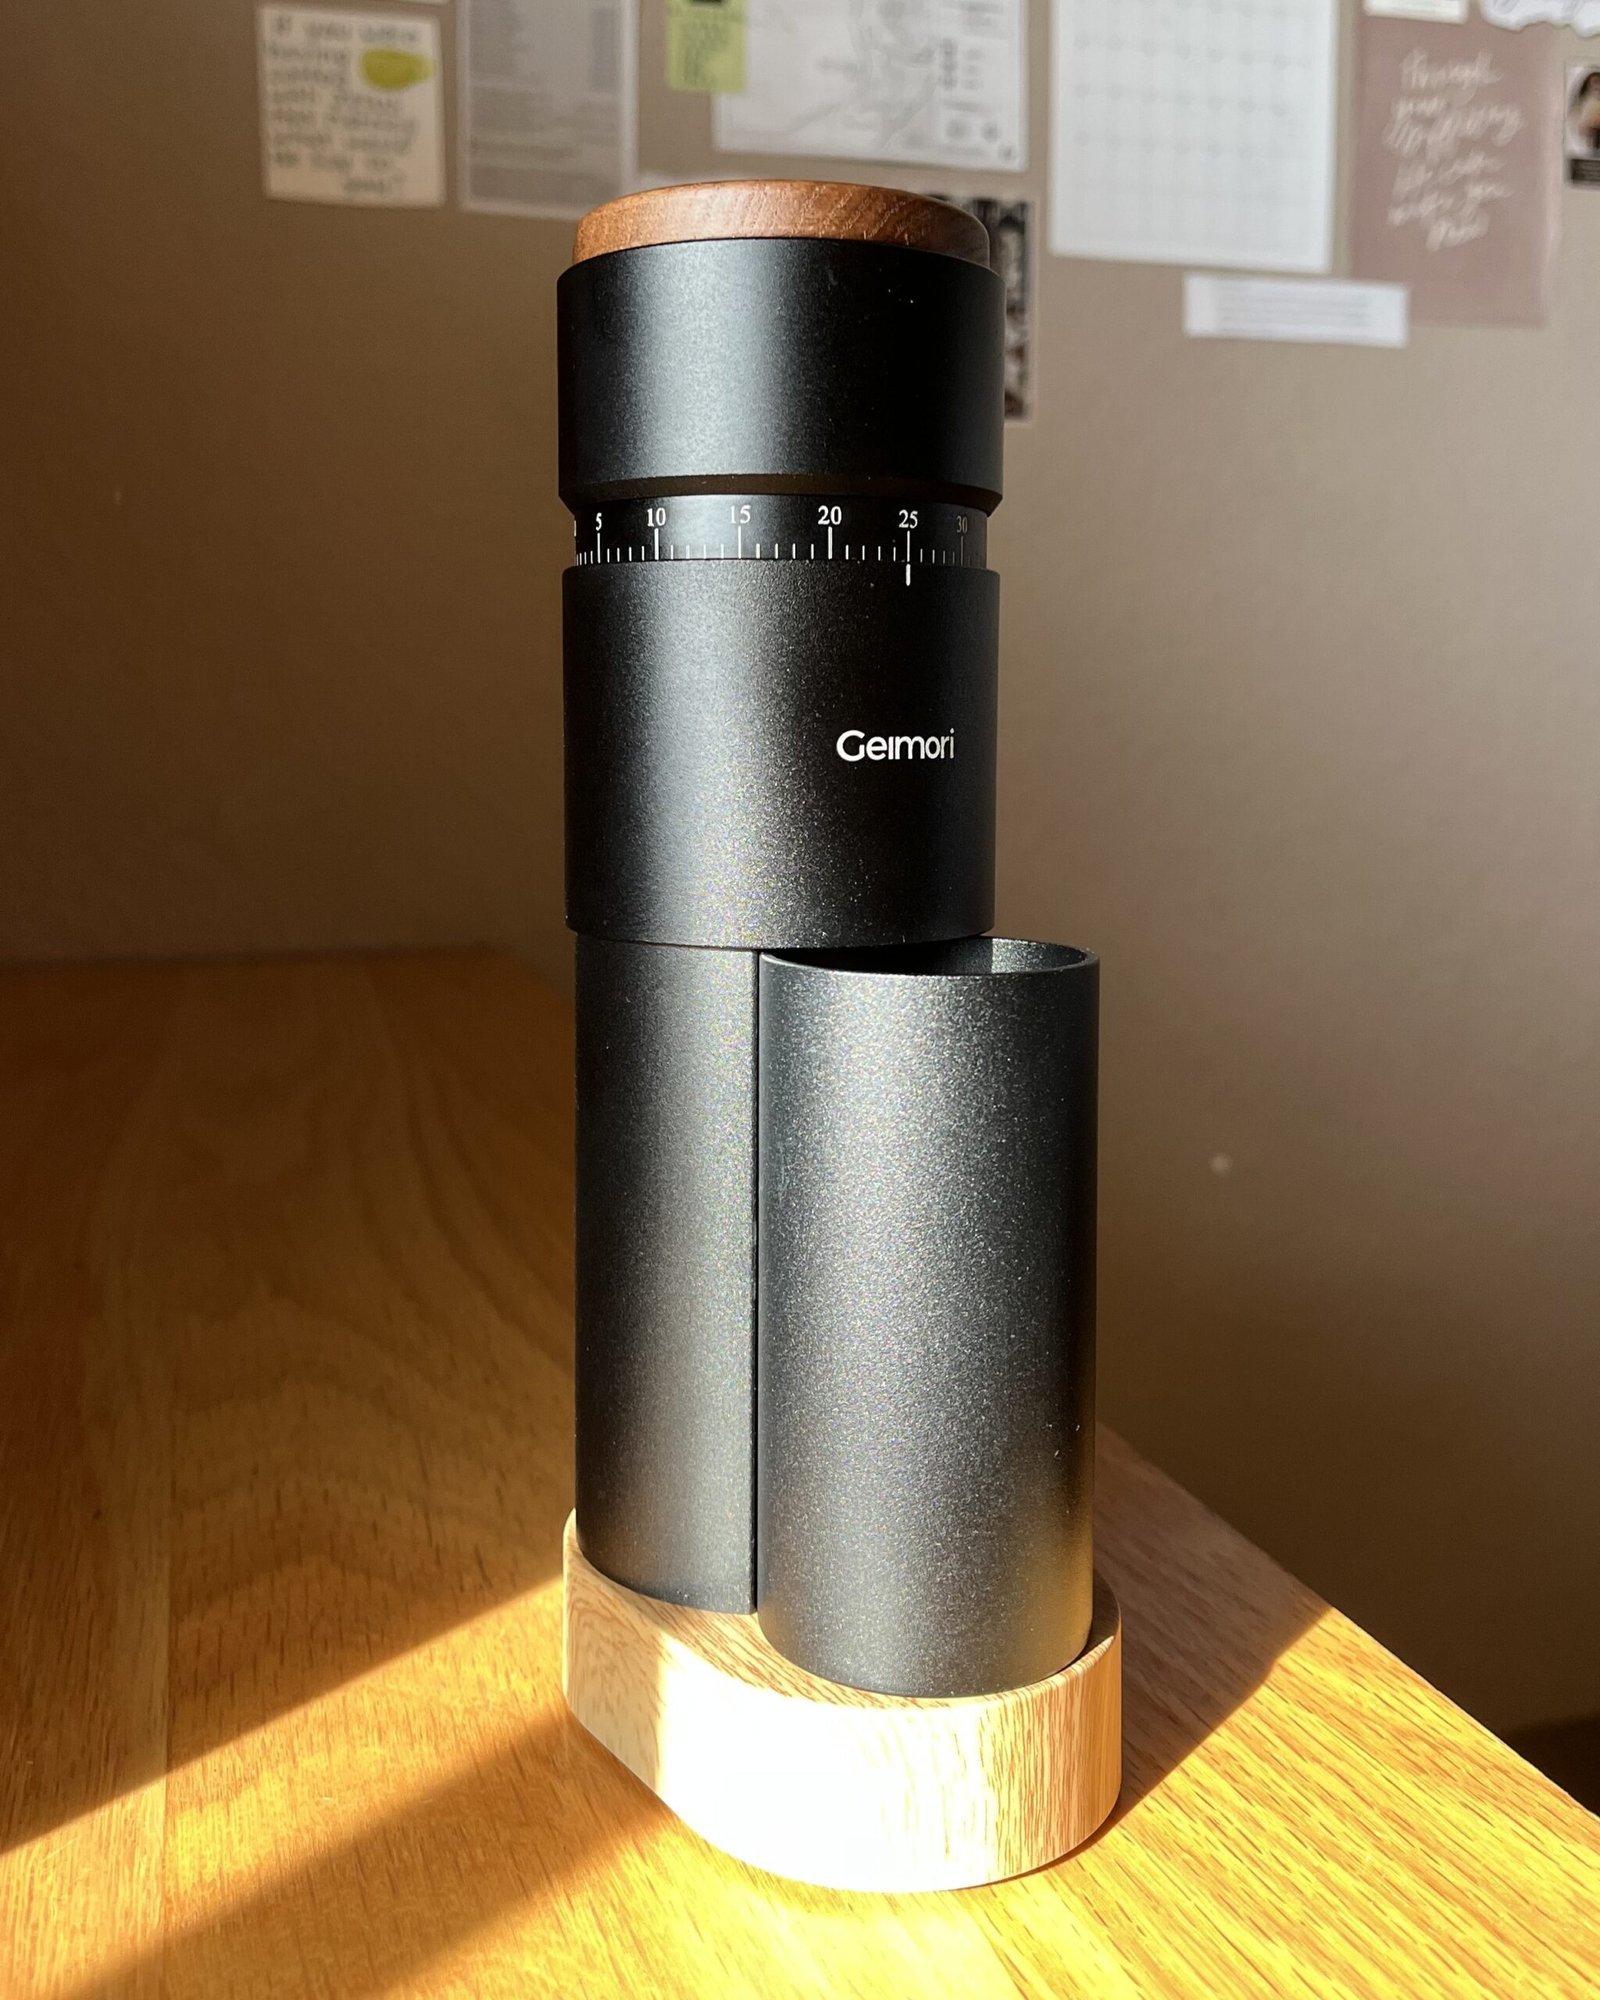
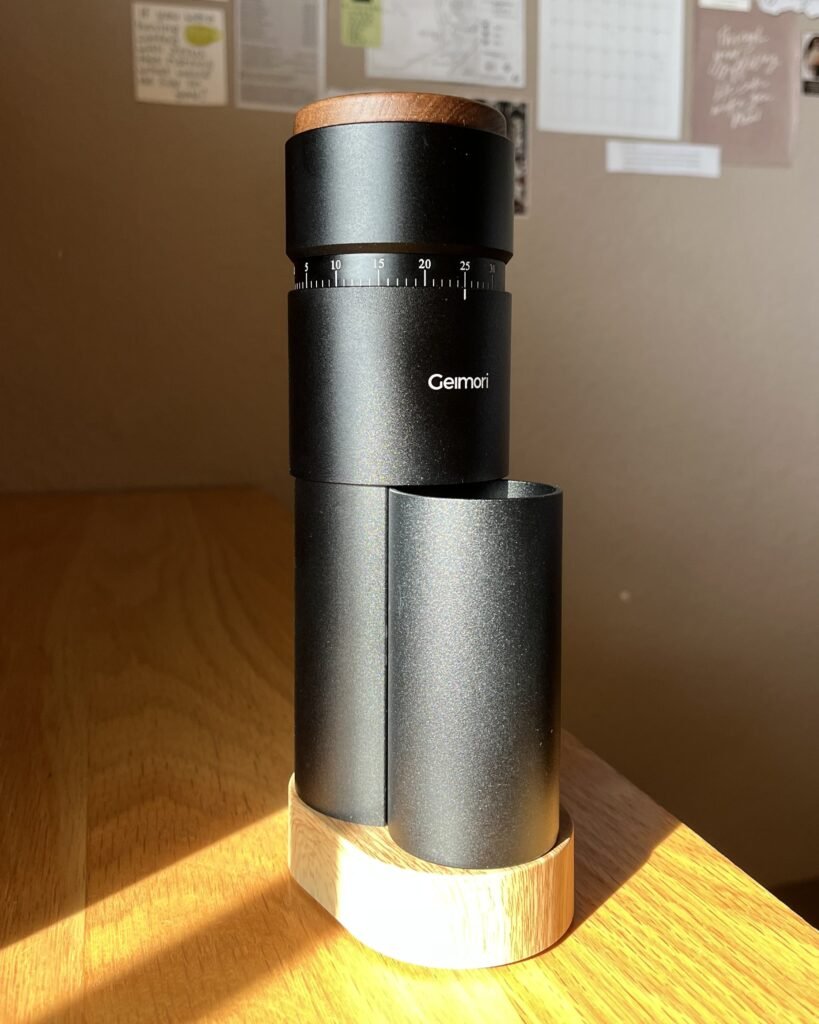
    1. The Geimori T38: I love this grinder because it’s high quality, extremely small, portable, and battery powered. It’s a single-dose grinder that allows me to have more control over my grind size and espresso quality. Check it out HERE.
    2. The Homtone Burr Grinder: This one is perfect for when I’m in a rush or want to make multiple coffees in a row. It’s bigger than the Geimori T38 and requires an outlet, but it performs splendidly. Check it out HERE.

    If a grinder isn’t in your budget yet, don’t worry. You can absolutely start with pre-ground coffee and upgrade later. Building your coffee bar is a process, not a race.


    Stock Your Coffee Bar

    Once you’ve picked out your brewing equipment, it’s time for the fun part.

    Start with the basics:

    • Coffee beans–get whole coffee beans if you have a grinder, or get pre-ground espresso coffee if you don’t have a grinder. Try Knights Coffee and use my discount code THECOFFEECOLLECT for 10% off your entire order! 🙂
    • Milk of choice
    • Flavors–no need to buy all the fancy syrups if it’s not in your budget. Honey, brown sugar, and maple syrup are all low cost yet highly delicious!
    • Coffee mugs or iced coffee glasses (especially ones that you can take on-the-go!)
    • Ice trays or a small ice maker for iced coffee.
    • Towels for cleanup

    You don’t need dozens of syrups or every trending accessory right away. Start with the drinks you know you’ll actually make, then slowly build your collection over time.


    Organizing Your Dorm Coffee Bar

    Dorm rooms are small, but with a little creativity, you can build a coffee bar that’s both functional and aesthetically pleasing.

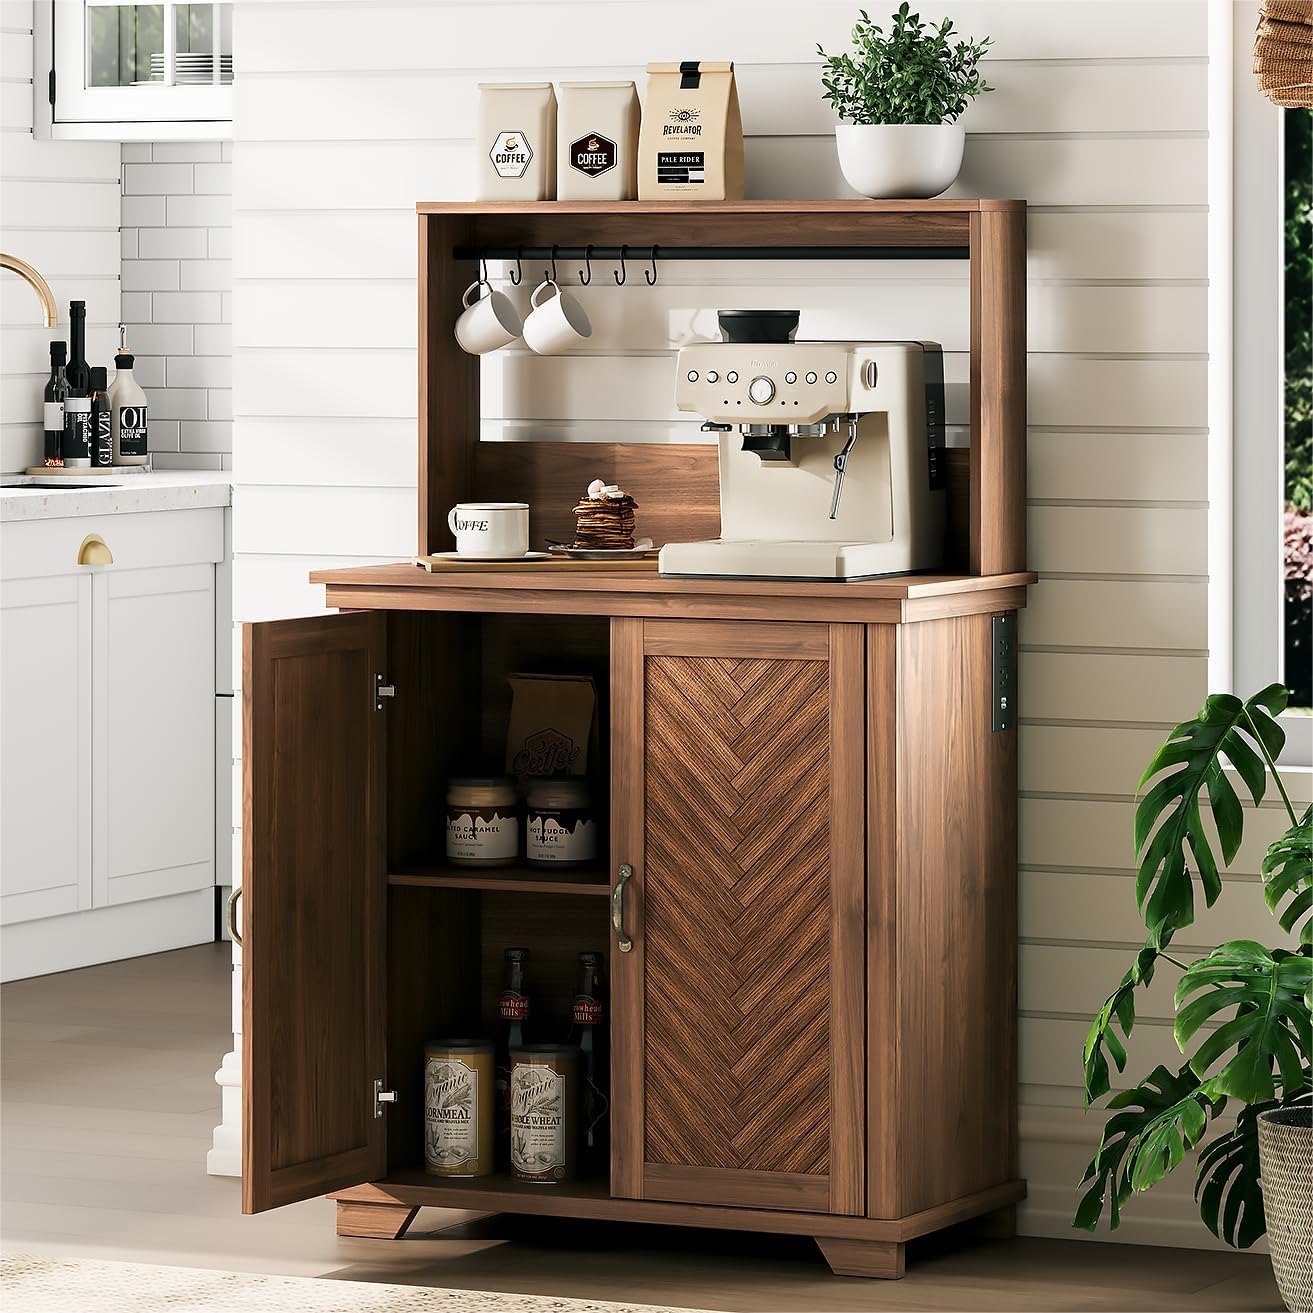
    Use vertical space whenever possible. Small shelving units, risers, and rolling carts can dramatically increase your storage without taking up much additional floor space. I used a dresser for my coffee bar in my dorm room, but something like this 5 Tier Coffee Bar Station would also be just perfect.

    One of the most important things is to make sure you have a power strip. Outlets can sometimes be scarce in dorms. The power strip I use is linked HERE.

    A clean, organized coffee bar not only looks better but also makes your morning routine much smoother.


    My Dorm Coffee Bar Setup

    If you’re curious about the products I personally use every day, I’ll link a complete list of what I use for my dorm room coffee bar.

    These are the products I’ve chosen after years of experimenting with different setups, and they’ve served me extremely well throughout college.


    Easy Coffee Recipes to Try

    Now comes the best part—making coffee!

    Once your coffee bar is complete, try experimenting with a few café favorites. Here are some of my favorites that require inexpensive flavorings.

    • Vanilla Latte
    • Teddy Graham Latte: Brown Sugar, Honey, Cinnamon Powder
    • Brown Sugar Shaken Espresso
    • Maple, Brown Sugar, Cinnamon Powder
    • Blondie: Caramel, Vanilla, White Chocolate

    Make sure to check out @the.coffee.collect on Instagram for many more dorm room recipes!


    Tips & Tricks for the Dorm Room Barista

    • Coffee creates community! Find some other coffee-lovers and invite them over for coffee! This is my favorite part. Hands down.
    • Don’t pour coffee grinds down the drain after you’ve used them. Plumbing isn’t the greatest in dorm rooms. Used coffee grinds go in the garbage.
    • Take care of your equipment!! Please! Make sure to do a simple cleanup at least once a week and then perform a deep clean at least once a month.
    • Be patient! Sometimes it takes a while to figure out the whole “home barista” thing. Make sure to experiment and make small adjustments until you find your perfect coffee.
    • Set clear boundaries with your roommates to avoid conflict from the start. Can they use your coffee bar? Will they be expected to help cover the cost of things like beans, milk, and flavors? How should they clean it after they use it?
    • Some espresso machines and grinders make a little noise. Will you be brewing coffee in the same area your roomates will be sleeping?

    Final Things…

    Creating a dorm room coffee bar doesn’t mean buying the most expensive espresso machine or filling your shelves with every coffee gadget you can find.

    Start with what fits your budget, make upgrades over time (if needed), and build a setup that works for your lifestyle.

    College goes by quickly, and sometimes it’s the small routines—like making your favorite latte before an early class or inviting friends over for coffee—that become the memories you cherish most <3

    I hope this guide helps you create a coffee bar you’ll love throughout your college years. And if you do build one, I’d absolutely love to see it!!! Tag me on Instagram so I can cheer you on and see your setup.

    Please don’t hesitate to reach out to me if you need any more help or guidance!

    1 Corinthians 16:14

    -the coffee collect.
  • Gevi Commercial Espresso Machine Review

    Gevi Commercial Espresso Machine Review

    An honest, unsponsored review of the Gevi Commercial Espresso Machine after real daily use, hosting, and pop-ups.

    For the longest time, I was using a pretty cheap espresso machine. It got the job done… but just barely. The shots were inconsistent, the steam wand felt like a guessing game, it overheated easily, and I always felt like I was missing out on what espresso could actually taste like.

    So I started looking for the best home espresso machine that didn’t break the bank—and quickly got overwhelmed.

    There are so many espresso machines out there. Some looked amazing but were way out of my budget, and others didn’t seem like enough of a step up to justify the cost. I went back and forth for a while, trying to figure out what was actually worth it.

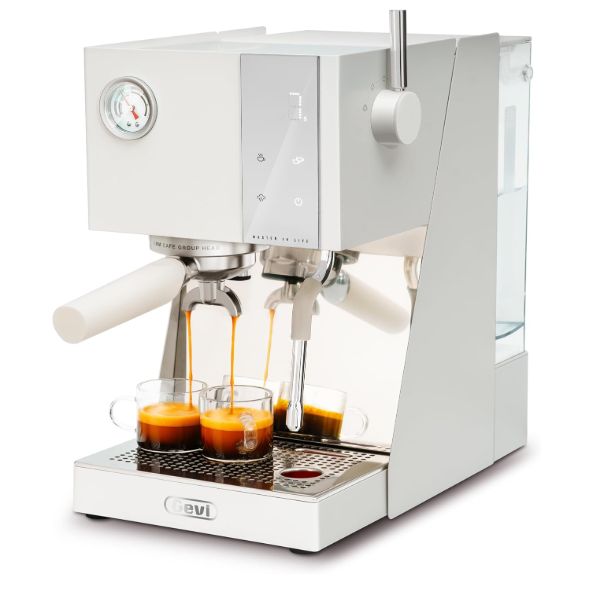
    And then I found the Gevi Commercial Espresso Machine (20 Bar, Smart OPV, 58mm Portafilter)—and honestly, I haven’t looked back since.

    Note: This post is not sponsored. I purchased and reviewed this machine on my own because I genuinely wanted an upgrade. Some links may be affiliate links, which means I may earn a small commission at no extra cost to you. I truly appreciate your support!


    First Impressions: A Machine That Feels Like a Step Up

    The first time I set this machine on the counter, it immediately felt like an upgrade. It has that clean, stainless steel look—but more importantly, it feels solid and intentional.


    Want to see how I’ve been using the Gevi Commercial Espresso Machine? Visit my Instagram page linked below!


    Dialing in the Shot: Learning Your Coffee Again

    The 20-bar pressure system paired with the Smart OPV doesn’t just pull strong shots—it helps you find balance. I started playing around more with grind size and dose, and for the first time, I could actually taste the difference those small changes made, which added a whole new realm of excitement to my home barista journey.


    The 58mm Portafilter: Where It Starts to Feel Like a Café

    This was a big moment for me.

    The 58mm portafilter is what you’ll find in many coffee shops, and having that at home changes everything. It gives you more control, and it makes the whole process feel more intentional and professional.


    Milk Frothing: Small Wins That Feel Big

    As always, the steam wand took a couple tries to get used to, but once I found the rhythm, it became part of my daily routine.

    This machine comes with a digital display, which allows you to monitor how long it takes to froth the perfect milk. This allows you to become super consistent and also make informed tweaks and adjustments if needed.

    I have found that it takes me about 60-75 seconds to steam the perfect milk for a double shot latte. While it’s not the strongest steam wand out there, it still gets the job done wonderfully.

    There’s something really satisfying about getting your milk just right so that you can start pouring some really awesome latte art.


    Beginner Espresso Setup: What to Buy First


    Durability: Built for Real-Life Coffee Moments

    One thing that really mattered to me—especially because I love hosting people and even doing small coffee shop pop-ups on my college campus—was durability.

    My old machine couldn’t keep up. After just a few shots in a row, it would overheat and slow everything down, which made it stressful anytime I had multiple people waiting for drinks.

    This machine has been a completely different experience.

    I’ve been able to pull 30+ shots back-to-back without any overheating issues or drop in performance. Whether I’m making drinks for friends or setting up a little pop-up, it actually keeps up with demand—which makes the whole experience feel smooth and enjoyable instead of chaotic.

    For me, that reliability is what really makes this feel like a true upgrade—not just in quality, but in what it allows me to do with coffee.


    Other Things to Appreciate

    There are a few smaller details that ended up making a big difference in my day-to-day experience with this machine.

    • Digital touch display: The interface is super simple and intuitive. It makes the whole process feel streamlined, and I love being able to monitor timing and make small adjustments without overthinking it.
    • Temperature control technology: This was something I didn’t fully appreciate until I started using it. The consistency from shot to shot is noticeably better, which makes dialing in your espresso so much easier.
    • Large water tank: If you’re making multiple drinks (especially when hosting or doing pop-ups), this matters more than you think. I’m not constantly refilling it, which keeps everything flowing smoothly.
    • Everything you need to get started: It comes with a tamper, a frothing pitcher, and four different baskets—single shot, double shot, and two dual-wall baskets. Whether you’re just starting out or experimenting more, it gives you options right away without needing to buy extra tools.

    These are the kinds of features that might not be the main selling point—but they’re what make you appreciate the machine more every time you use it.


    Who This Is For

    If I had to describe it simply, this machine is for someone who wants more out of their coffee—but doesn’t want it to feel intimidating—both in terms of price and the learning curve


    Final Thoughts

    Upgrading your espresso machine can feel like a big decision—especially when there are so many options and price points out there.

    But the Gevi Commercial Espresso Machine felt like the perfect middle ground for me. It’s a real upgrade without feeling out of reach, and it’s made my daily coffee routine something I genuinely look forward to.

    If you’ve been in that same place—using a basic machine and wondering if it’s worth upgrading—I can confidently say this one is.


    I hope this review helps in any way possible!

    Please reach out if you have any questions!

    coffee creates community.

    -the coffee collect.

  • Geimori T38 Plus Grinder Review

    Geimori T38 Plus Grinder Review

    Geimori T38 Plus Grinder Review: My Honest Experience

    Transparency Note: Wirsh kindly sent me the Geimori T38 Plus grinder to test and review.


    ✨ Exclusive Discount for The Coffee Collect Community

    Wirsh generously offered an exclusive code for our readers!
    Use COFFEECOLLECT30 for $30 off the Geimori T38 Plus Grinder — bringing it down to $149.99, the lowest price ever offered for this grinder!

    I love being able to share deals like this with our coffee community — enjoy! 🙂


    Why This Grinder Caught My Attention

    Coffee is one of the ways I slow down and create moments of stillness, creativity, and connection.

    When Wirsh reached out and offered to send me their Geimori T38 Plus grinder to test, I was very excited—especially because I had heard good things about its burr design and grind consistency. After using the Geimori T38 Plus for a few weeks, I’m sharing my honest thoughts in hopes that it can help the greater coffee community and anyone considering this grinder. (Spoiler alert: It’s a great grinder.)


    First Impressions: Unboxing & Design

    Right out of the box, the Geimori T38 Plus feels premium. The aluminum build gives it a durable, premium feel, and the wooden accents add a warm, intentional touch that looks beautiful on any coffee bar.

    The design is compact, which is extremely appreciated by someone like me who has limited space. It was noticeable that the power cord plug is fairly large. This didn’t cause a problem for me, but it may be difficult for those who have crowded outlet spaces.

    One thing I appreciated immediately is that the grinder is completely plastic-free, which not only adds to its durability and premium feel but also aligns with a more sustainable and long-lasting coffee setup.

    geimori T38 Plus grinder

    Setup

    If you’re like me, it’s always slightly frustrating when a product you receive makes you go through a long and complicated setup process before you can actually use the product. 

    Thankfully, the Geimori T38 Plus requires very little setup. The process is as simple as plugging it in, turning the dial to your desired grind size, and then pressing one button before you have quality freshly ground coffee.


    Performance Review: The Honest Breakdown

    Grind Quality & Consistency

    The Precision 38mm 6-Axis Conical burrs provide a clean, consistent grind that allows for you to craft a consistent flavor extraction when brewing. Even on coarser settings for cold brew, the particles stayed uniform without random boulders.

    Speed & Noise

    It grinds at a moderate speed—not the fastest, not the slowest. Noise level is also moderate. Not whisper-quiet, not overly loud. Personally, the sound doesn’t bother me at all.

    Ease of Use

    The grind dial is intuitive, and switching from medium to fine is smooth and accurate. There’s truly no learning curve.

    To start grinding, there is one button–the power button. 

    Retention & Cleanliness

    The zero-retention design shines. What you put in is almost exactly what you get out, which allows for much more control and precision in your brewing routine.

    The anti-static tech also makes cleanup minimal. The magnetic dosing cup seems to catch all of the coffee grounds. Out of all of my brewing equipment, the Geimori T38 Plus definitely wins for being the cleanest.

    Note: One thing I noticed while using is that sometimes a few beans remain in the hopper instead of feeding fully into the burrs. A gentle tap on the side of the grinder helps them fall through so everything gets ground. Not a dealbreaker, but worth mentioning.


    Steps for Buying the Right Espresso Machine


    Pros & Cons Overview

    Pros

    • Single-dose design
    • Consistent grind quality
    • Compact footprint
    • Plastic-free build
    • Durable, attractive design
    • Low retention
    • Simple operation
    • Cleanliness

    Cons

    • Slightly higher price point for beginners
    • Noise level is average—not loud, but not silent
    • Occasionally requires tapping the grinder to ensure all beans enter the burrs
    • The power cord plug is fairly large and may be difficult to use in tight or crowded outlet spaces

    Who This Grinder Is Best For

    This grinder is ideal for:

    • Home baristas wanting to level up their daily brews
    • Home baristas with limited space
    • Anyone who values design + functionality
    • Medium to advanced coffee drinkers looking to fine-tune and experiment with their coffee methods
    • Baristas wanting to take their grinder on the go (make sure to check out the T38 if this is you! click HERE)

    It may not be perfect for:

    • Beginners wanting a budget grinder (keep an eye out for when the Geimori T38 Plus goes on sale!)
    • Anyone grinding large batches daily
    • Those needing a grinder for continuous commercial use

    Would I Recommend It?

    Yes—especially if you’re someone who values quality and consistency in your daily cup. The Geimori T38 Plus brings together craftsmanship, simplicity, and performance in a way that feels intentional. It quickly earned a spot in my coffee routine.

    Have a special $30 off when you use code: COFFEECOLLECT30

    (This is the biggest discount the Geimori T38 Plus has ever had, making it only $149.99!!)

    Not exactly what you’re looking for? I recommend exploring the other quality products Wirsh offers for elevating your coffee setup!


    Coffee has a beautiful way of bringing people together, sparking conversation, and creating community. Tools that make the brewing process smoother help make space for those moments of connection, and the T38 Plus is one I feel confident recommending.

    Catch me using this grinder on Instagram @the.coffee.collect

    -the coffee collect.

  • Steps for Buying the Right Espresso Machine

    Steps for Buying the Right Espresso Machine


    Buying an Espresso Machine That Actually Fits You

    Let’s be honest, buying an espresso machine can feel overwhelming.

    Between the endless specs, pressure bars, milk frothers, and boiler types, it’s easy to wonder if you’ll ever find the “right” one.

    Maybe you’ve scrolled through dozens of options only to feel more confused than when you started. I’ve been there, trust me.

    Or maybe you’ve already bought one that didn’t quite meet your expectations—too bulky, too slow, too complicated, or just not giving that café-level taste you were hoping for.

    We get it.

    Espresso machines aren’t one-size-fits-all, and choosing the right one shouldn’t feel like a gamble.

    Your espresso machine should match you—your lifestyle, your space, and your coffee goals.

    That’s why we’re breaking down the key steps to help you make an informed, confident decision. By understanding what you actually need (and what you don’t), you’ll not only save money, but you’ll set yourself up for the kind of daily coffee experience you’ll look forward to.

    coffee, espresso, caffeine, morning, machine, drink, flavor, aromatic, espresso, espresso, espresso, espresso, espresso, caffeine

    Step 1: Know What You’ll Be Demanding from Your Machine

    Before you even look at brands or models, ask yourself:

    • How often will I use it?
    • Do I mostly drink espresso, or do I love milk-based drinks like lattes and cappuccinos?
    • Do I want full control over the brewing process, or something more automatic?
    • How much counter space do I have?

    Your answers will shape everything else. Someone brewing two shots a day has very different needs than someone serving up a coffee for each person in the household every morning.

    The more you know about what you’ll demand from your machine, the better you can narrow down your options.


    Step 2: Understand Espresso Machine Types

    There are several main types of espresso machines, and each fits a different kind of user:

    • Manual machines: Great for coffee purists who enjoy total control. But they require skill, patience, and experimentation—every shot is a craft.
    • Semi-automatic machines: Perfect balance between control and convenience. You still grind, tamp, and start the shot, but the machine handles pressure and timing.
    • Automatic or super-automatic machines: Ideal for busy mornings. These do almost everything for you, from grinding beans to frothing milk.
    • Pod machines: Fast, clean, and consistent, but less customizable and more expensive per shot over time.

    Step 3: Think About Size and Design

    Counter space is precious, especially in small apartments or those itty bitty dorm rooms.

    Before you fall in love with a machine online, check the dimensions and consider where it will live in your kitchen.

    Compact models can still pack a punch, but they often have smaller water tanks or less powerful steam wands. Larger machines may handle multiple drinks at once but could dominate your countertop. Always balance aesthetic and functionality before you buy.


    Step 4: Learn About Boilers and Thermoblocks

    Boilers are the heart of any espresso machine. They control water temperature and steam pressure. There are a few types worth knowing:

    • Single boiler: Heats water for brewing and steaming, but not at the same time. This means that you cannot pull an espresso shot while steaming milk simultaneously. Affordable and compact, but slower if you make hot, milk-based drinks often.
    • Heat exchange (HX): Uses one boiler but allows you to brew and steam simultaneously by channeling water through a heat exchanger. A great middle ground.
    • Dual boiler: Has one dedicated boiler for brewing and another for steaming. Ideal for advanced home baristas who want precision and speed. These are usually larger and pricier.
    • Thermoblock systems: Instead of using a traditional boiler, these heat water on demand as it passes through a metal block. They’re efficient, compact, and heat up quickly—perfect for beginners or those short on space. However, they may struggle to maintain consistent temperature for back-to-back shots compared to dual boilers

    Step 5: Check Voltage and Power Requirements

    In the U.S., most home espresso machines are designed for 120 volts, which is standard for kitchen outlets. Higher-end, commercial-style machines may require 220 volts, which means special wiring or outlets.

    Always confirm before buying—nothing’s worse than unboxing your dream espresso machine only to realize it won’t plug in…


    The Best Burr Coffee Grinders


    Step 6: Consider the Features That Actually Matter

    It’s easy to get caught up in fancy terms and shiny buttons. Instead, focus on what will actually improve your daily coffee experience:

    • Built-in grinder: Convenient and space-saving. This is ideal if you will only be brewing espresso. However, if you like to freshly grind your coffee beans for different brewing methods like french press or cold brew, you may want to invest in a separate grinder that has more grind size settings.
    • PID (Proportional-Integral-Derivative) temperature control: A system that regulates water temperature very precisely, keeping it stable for consistent shots and preventing over- or under-extraction. Some machines have a PID while others do not; it is more common in higher-end and semi-automatic or dual-boiler machines. It is important if you value consistency, precision, and want more control over espresso quality, but less critical for casual or beginner use.
    • Steam wand quality: Essential if you love milk-based drinks. It allows you to create smooth microfoam for lattes and cappuccinos, which improves drink texture and flavor. There is a learning curve to using a steam wand, but with practice it becomes fun and rewarding once you start nailing the latte art 😉
    • Pressure bars: 9 bars is standard for proper espresso extraction. Don’t fall for marketing hype claiming 15 or 20 bars automatically means better coffee. Espresso machines rated 9, 15, or 20 bars can all make quality espresso, so this shouldn’t be a deciding factor.
    • Ease of cleaning: A huge factor for long-term happiness. Customer reviews often give honest remarks on the upkeep an espresso machine may require, so I recommend you check those out before making a purchase.

    Step 7: Balance Budget and Longevity

    Espresso machines can range from under $200 to way over $2,000. While higher price often means better build quality and features, it’s more important to find something that fits your current needs—and that you’ll actually use. A smaller, reliable beginner-friendly machine can be a better investment than an expensive one that collects dust.


    Step 8: Compare and Choose the Right Fit

    Now that you know what to look for, here are a few machines we recommend based on different needs (linked below for easy access):

    • Best for Everyday Home Use: Breville Barista Express — combines an integrated grinder, precise espresso extraction, and manual controls for an all-in-one, barista-style experience.
    • Best for Aspiring Baristas: Gaggia Classic Pro — excellent control and long-lasting quality.
    • Best for Advanced Home Baristas: Rancilio Silvia Pro or Ascaso Steel DUO Espresso Machine — both offer exceptional control and craftsmanship. The Rancilio Silvia Pro features dual boilers for powerful, simultaneous brewing and steaming, while the Ascaso Steel DUO offers PID temperature control, dual thermoblocks, and volumetric controls for precision brewing.

    Each of these machines fits a different kind of coffee lifestyle—what matters most is finding the one that fits yours. Make sure to explore the different features of a machine before purchasing.


    Final Thoughts

    Choosing the right espresso machine isn’t about finding the most expensive or popular one—it’s about understanding what you need from it. Once you identify your habits, preferences, and expectations, the right choice becomes much clearer.

    So, take a moment to think about what you’ll truly demand from your machine, and when you do finally bring it home, you’ll be ready to pull shots that fit your taste, your rhythm, and your everyday life.

    Reach out if you have any more advice, comments or concerns. We’d love to hear from you.

    Coffee creates community.

    -the coffee collect.

  • The Best Coffee Setup for a College Dorm Room

    The Best Coffee Setup for a College Dorm Room


    The Best Coffee Setup for a College Dorm Room

    College life = caffeine life.

    If you’re living that dorm life but still want a daily cup (or three) that actually tastes good, this guide is for you. Whether you’re rushing out the door for an 8 a.m. lecture or pulling a late-nighter with your bestie and a 10-page paper, having the right coffee setup in your dorm room is a total game-changer. It saves both time and money, which all of us broke college students love to hear.

    We’re breaking down the best coffee makers, space-saving storage hacks, and cozy dorm coffee bar vibes—because great coffee can totally be part of your dorm life, even in a shoebox-sized room.


    Dorm Coffee Makers

    You don’t need a full espresso bar (though we fully support the dream). These compact, easy-to-use brewers are dorm-approved and won’t eat up your space:

    • Keurig K-Mini Plus – Slim, cute, and fast. Just pop in a pod and go. It’s basically made for dorm life.
    • AeroPress Go – For the low-key coffee nerd who wants quality without fuss. Easy to clean and packs into its own mug.
    • Electric Kettle + Pour Over Dripper – A dreamy little setup if you’re into the slow pour and the vibes.
    • Mr. Coffee 5-Cup Mini – A great basic brewer if you’ve got roommates or like making a full pot to sip all morning.
    • If you are an espresso lover, the CASABREWS 3700, EM3111, or Wirsh 20 Bar are all great quality, budget-friendly, and compact espresso machines. I personally use the EM3111 to meet my college espresso needs.
    keurig k-mini plus

    📝 Tip: Check your dorm rules before bringing anything with a heating element. Look for auto shut-off features or ask your RA if you’re unsure.


    For the Iced Coffee Lover

    If you’re team iced coffee all year long (yes, even in winter), your dorm coffee setup must act accordingly. Here’s how to keep it cool, refreshing, and totally dorm-approved:

    • Cold Brew Maker
      We love the Primula Burke Deluxe Cold Brew Iced Coffee Maker. It’s the perfect dorm-sized brewer with a durable glass carafe, comfy handle, and a mesh filter that makes cleanup a breeze. It fits in most mini fridges, holds 1.6 quarts (aka about 6 cups), and it’s dishwasher safe
    • Ice Maker
      The Frigidaire EFIC108 Countertop Ice Maker is a game-changer. It makes ice in just 6 minutes—no plumbing, no drama. Plus, it’s small enough for dorm life and way more fun than using the communal freezer tray (if that even exists).

    Storage Hacks for Your Coffee Setup

    Let’s be real: dorms aren’t exactly known for storage space. But you can still keep your coffee stuff organized and aesthetic:

    dorm coffee cart

    Budget-Friendly Brewing Tips

    Being a student means watching your wallet—but you can still have great coffee without going broke:

    • Buy coffee beans in bulk and grind them at a local coffee shop or Costco
    • Grab a reusable K-Cup to save $$$ on pods
    • DIY your own flavors with inexpensive things you already have (brown sugar + cinnamon = instant cozy)
    • Hit up Amazon or local stores for deals—there are always student-friendly options!
    • Fill up on milk and anything else you might need at the dining hall to use for your dorm room lattes

    Set the Vibe: Dorm Coffee Corner Goals

    Your coffee corner isn’t just functional—it’s your happy place. Here’s how to make it feel like a tiny café:

    • Add fairy lights or a mini lamp for a warm glow
    • Pop in a small plant or faux greenery
    • Hang a little framed quote or Bible verse that gets you inspired each morning
    • Go thrifting and find cheap, unique, and stylish mugs or glasses

    Your Daily Brew = Your Daily Boost

    A good coffee setup in your dorm isn’t just about the caffeine (though, let’s be real, it helps). It’s about creating a space that feels like you—a little moment of peace before the chaos of classes, group projects, and campus life.

    So brew what you love, decorate with joy, and claim that corner of your dorm like the cozy coffee haven it is.

    Stay caffeinated, it’s dangerous out there.

    Don’t forget to take a picture of your dorm coffee setup and tag us on Instagram @the.coffee.collect !

    -the coffee collect.


  • The Ultimate Guide to a Cottagecore Coffee Nook

    The Ultimate Guide to a Cottagecore Coffee Nook

    The Ultimate Guide to a Cottagecore Coffee Nook

    If you’ve ever dreamed of sipping your morning brew surrounded by soft florals, warm woods, and vintage charm, you’re going to love the cottagecore aesthetic. It’s a celebration of simplicity, slowness, and intentional living—and your coffee corner can reflect all of that beauty.

    In this guide, we’re sharing our favorite essentials to help you create your very own cottagecore coffee nook at home. Whether you’re working with a full kitchen counter or a small side table in a sunlit corner, we’ve gathered everything you need, including dainty mugs and antique-inspired kettles to dreamy décor and cozy seating.


    Cottagecore Coffee Nook Must-Haves

    These handpicked pieces combine function and flair to bring your vision to life.

    Let’s get to it…


    Coffee Cabinet or Shelf

    Your cottagecore coffee nook begins with a beautiful foundation—a space to hold all your essentials and set the mood.

    Look for pieces that feel rustic, vintage-inspired, or handmade. Light wood tones, distressed finishes, and charming details like curved legs or woven accents fit perfectly into the cottagecore aesthetic. Bonus points if it feels like something you’d find in a countryside cottage kitchen. Here are a few of our picks to get you started:


    Cottagecore Coffee Makers & Espresso Machines

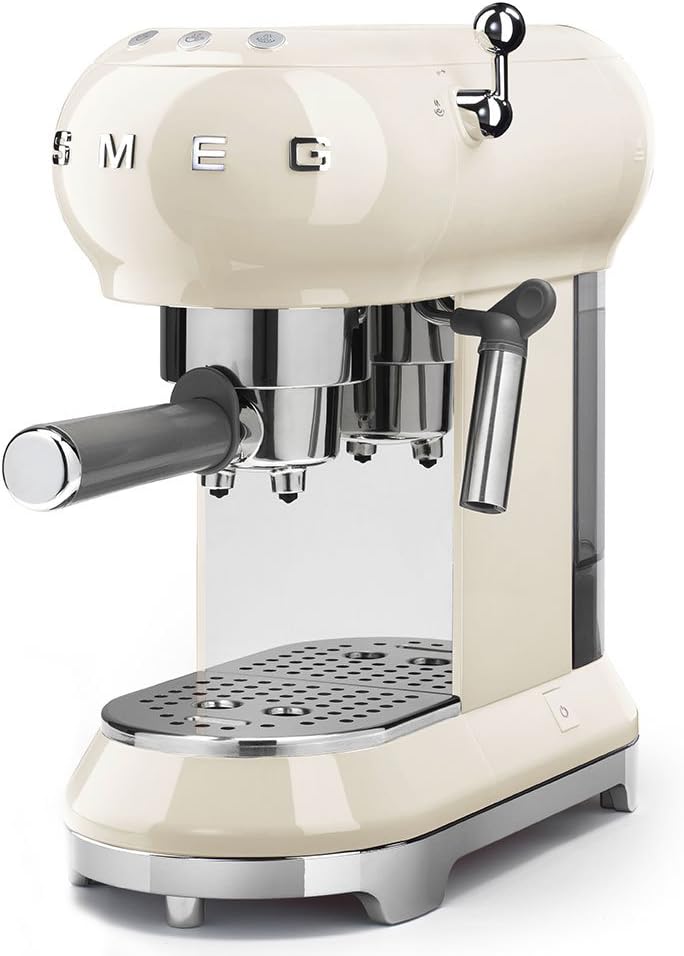
    A beautiful brew starts with a beautiful brewer. For a cottagecore setup, white or cream-colored coffee makers and espresso machines blend effortlessly with the soft, romantic feel of your nook. They add a clean, airy touch while keeping the focus on slow, intentional moments.

    Here are some lovely options to consider:


    Home Coffee Bar Ideas for Apartments & Tiny Kitchens


    Grinder

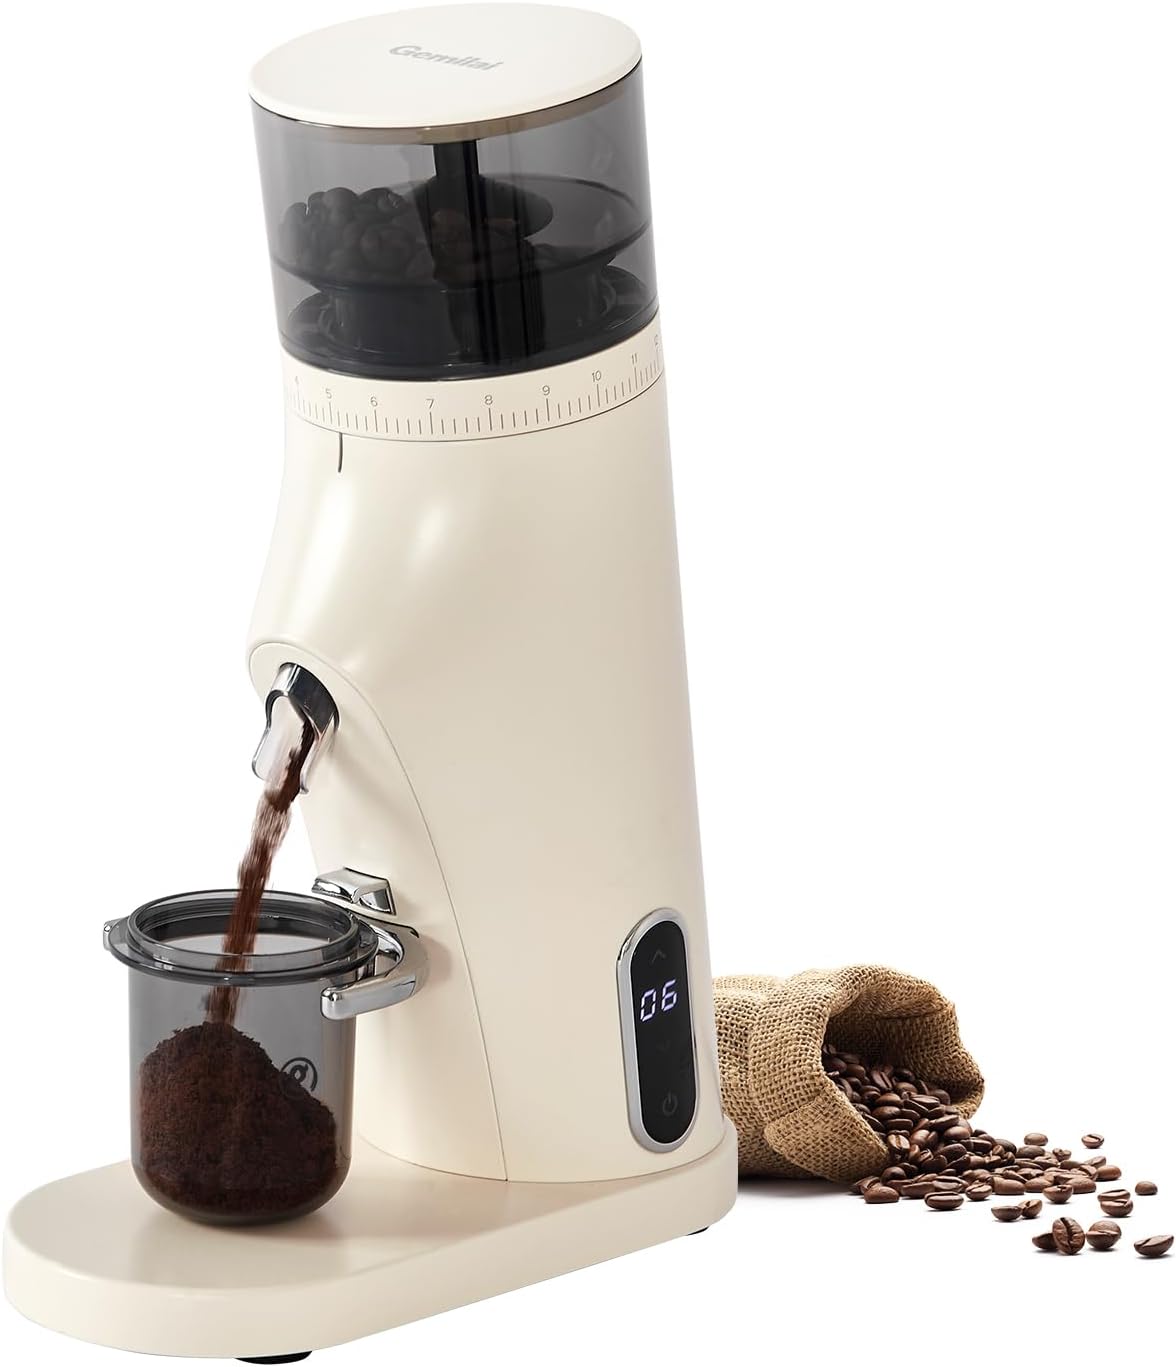
    A reliable burr grinder is key for fresh, flavorful coffee. The right grinder not only improves taste but also elevates the look of your coffee nook.


    Key Equipment & Accessories

    Bring in those cottagecore vibes with every detail


    Here’s a cozy section on other cottagecore touches for the coffee bar, with an emphasis on thrift store finds:


    Cottagecore Touches to Add to Your Coffee Bar

    A true cottagecore coffee nook isn’t complete without those special little touches that make it feel like a warm, lived-in space. Think of it as curating a collection of vintage treasures and natural elements that reflect the slower pace and beauty of rural life. The best part? Many of these accessories and décor pieces can be found at your local thrift stores, where each item tells its own story.

    Thrift Store Tips:

    • Look for vintage mugs, teacups, and plates to add personality to your coffee setup.
    • Wooden trays, baskets, and crates are great for organizing coffee beans, mugs, or accessories.
    • Don’t forget about old books! A stack of well-loved novels can add an extra touch of charm to your nook.
    • Greenery: Find charming, vintage planters for small plants or succulents to bring life to your space.
    • Floral Accents: Look for unique vases or mason jars to display fresh or dried flowers.
    • Candles: Vintage candle holders and lanterns can add warmth and cozy vibes to your nook.
    • Mirrors & Framed Art: Keep an eye out for vintage mirrors or botanical prints to add character and reflect light.
    • Textiles: Linen napkins, crocheted doilies, or mismatched tablecloths are perfect for adding cozy texture.

    Bringing It All Together

    Creating your own cottagecore coffee nook is all about blending comfort, charm, and a touch of nature. With the right essentials, décor, and a little creativity, you can transform any corner into a cozy haven where every cup of coffee feels like a moment of peace.

    Take your time, layer in the elements you love, and let your coffee bar evolve into a space that feels like home.

    Share your coffee spaces with us!

    Don’t forget to join the coffee community on Instagram @the.coffee.collect

    -the coffee collect.