Tag: coffee lovers

  • The Ultimate Guide to Frothing Milk Without a Machine

    The Ultimate Guide to Frothing Milk Without a Machine

    The Ultimate Guide to Frothing Milk Without a Machine

    A rich, creamy froth can elevate a homemade latte, cappuccino, or flat white to a professional level. But what if you don’t own an espresso machine with a steam wand? Don’t worry—there are several ways to froth milk at home without expensive equipment. This guide will walk you through five simple methods so you can create café-quality froth with tools you likely already have in your kitchen.


    Before You Begin

    Here are some specific tips that will lay the foundation for you.

    • The best milk for frothing depends on the texture and stability you want in your foam. Whole milk (3.25% fat) is ideal for a creamy, rich foam with good stability, making it perfect for lattes and cappuccinos. 2% milk also froths well, producing a slightly lighter texture while maintaining good microfoam. Skim milk creates the largest and airiest foam due to its higher protein content, but it lacks creaminess. For plant-based options, oat milk (barista editions) is one of the best choices due to its ability to produce a smooth, stable foam. Soy milk also froths well but can curdle if not heated properly, while almond milk tends to create a lighter, less stable foam. The key is to use fresh, cold milk and avoid overheating to achieve the best froth.
    • Always start with warm (not boiling) milk for the best results. The perfect temperature will be between 140°F and 155°F. Use a thermometer the first few times and after some practice you will be able to tell when it’s at the right temperature without the thermometer.
    • Start with about 6 to 8 ounces of milk for a standard latte or cappuccino. Milk expands as air is incorporated in the frothing process, so remember to allow enough room for proper aeration.
    • After frothing, swirl and tap the milk container gently on a countertop to break down bubbles before pouring. Large bubbles in frothed milk are undesirable because they create an airy, unstable foam rather than a smooth, creamy texture. Lots of practice and the proper techniques are needed to allow you to control aeration during frothing.
    • Pour frothed milk immediately to maintain texture and consistency.
    • Frothing milk is an art that takes time and experimentation to achieve your personal desired results. Be patient and have fun with the process!
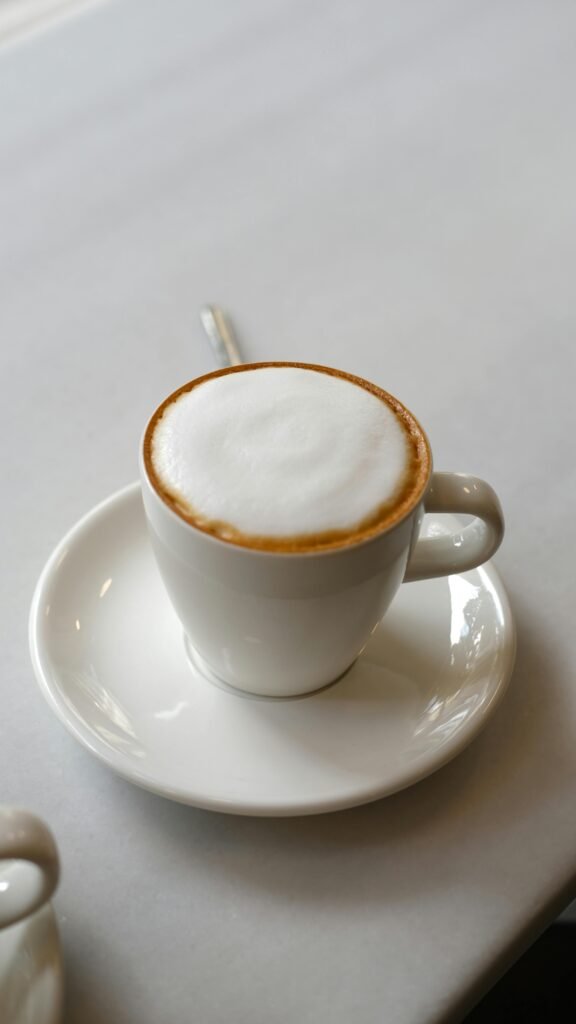
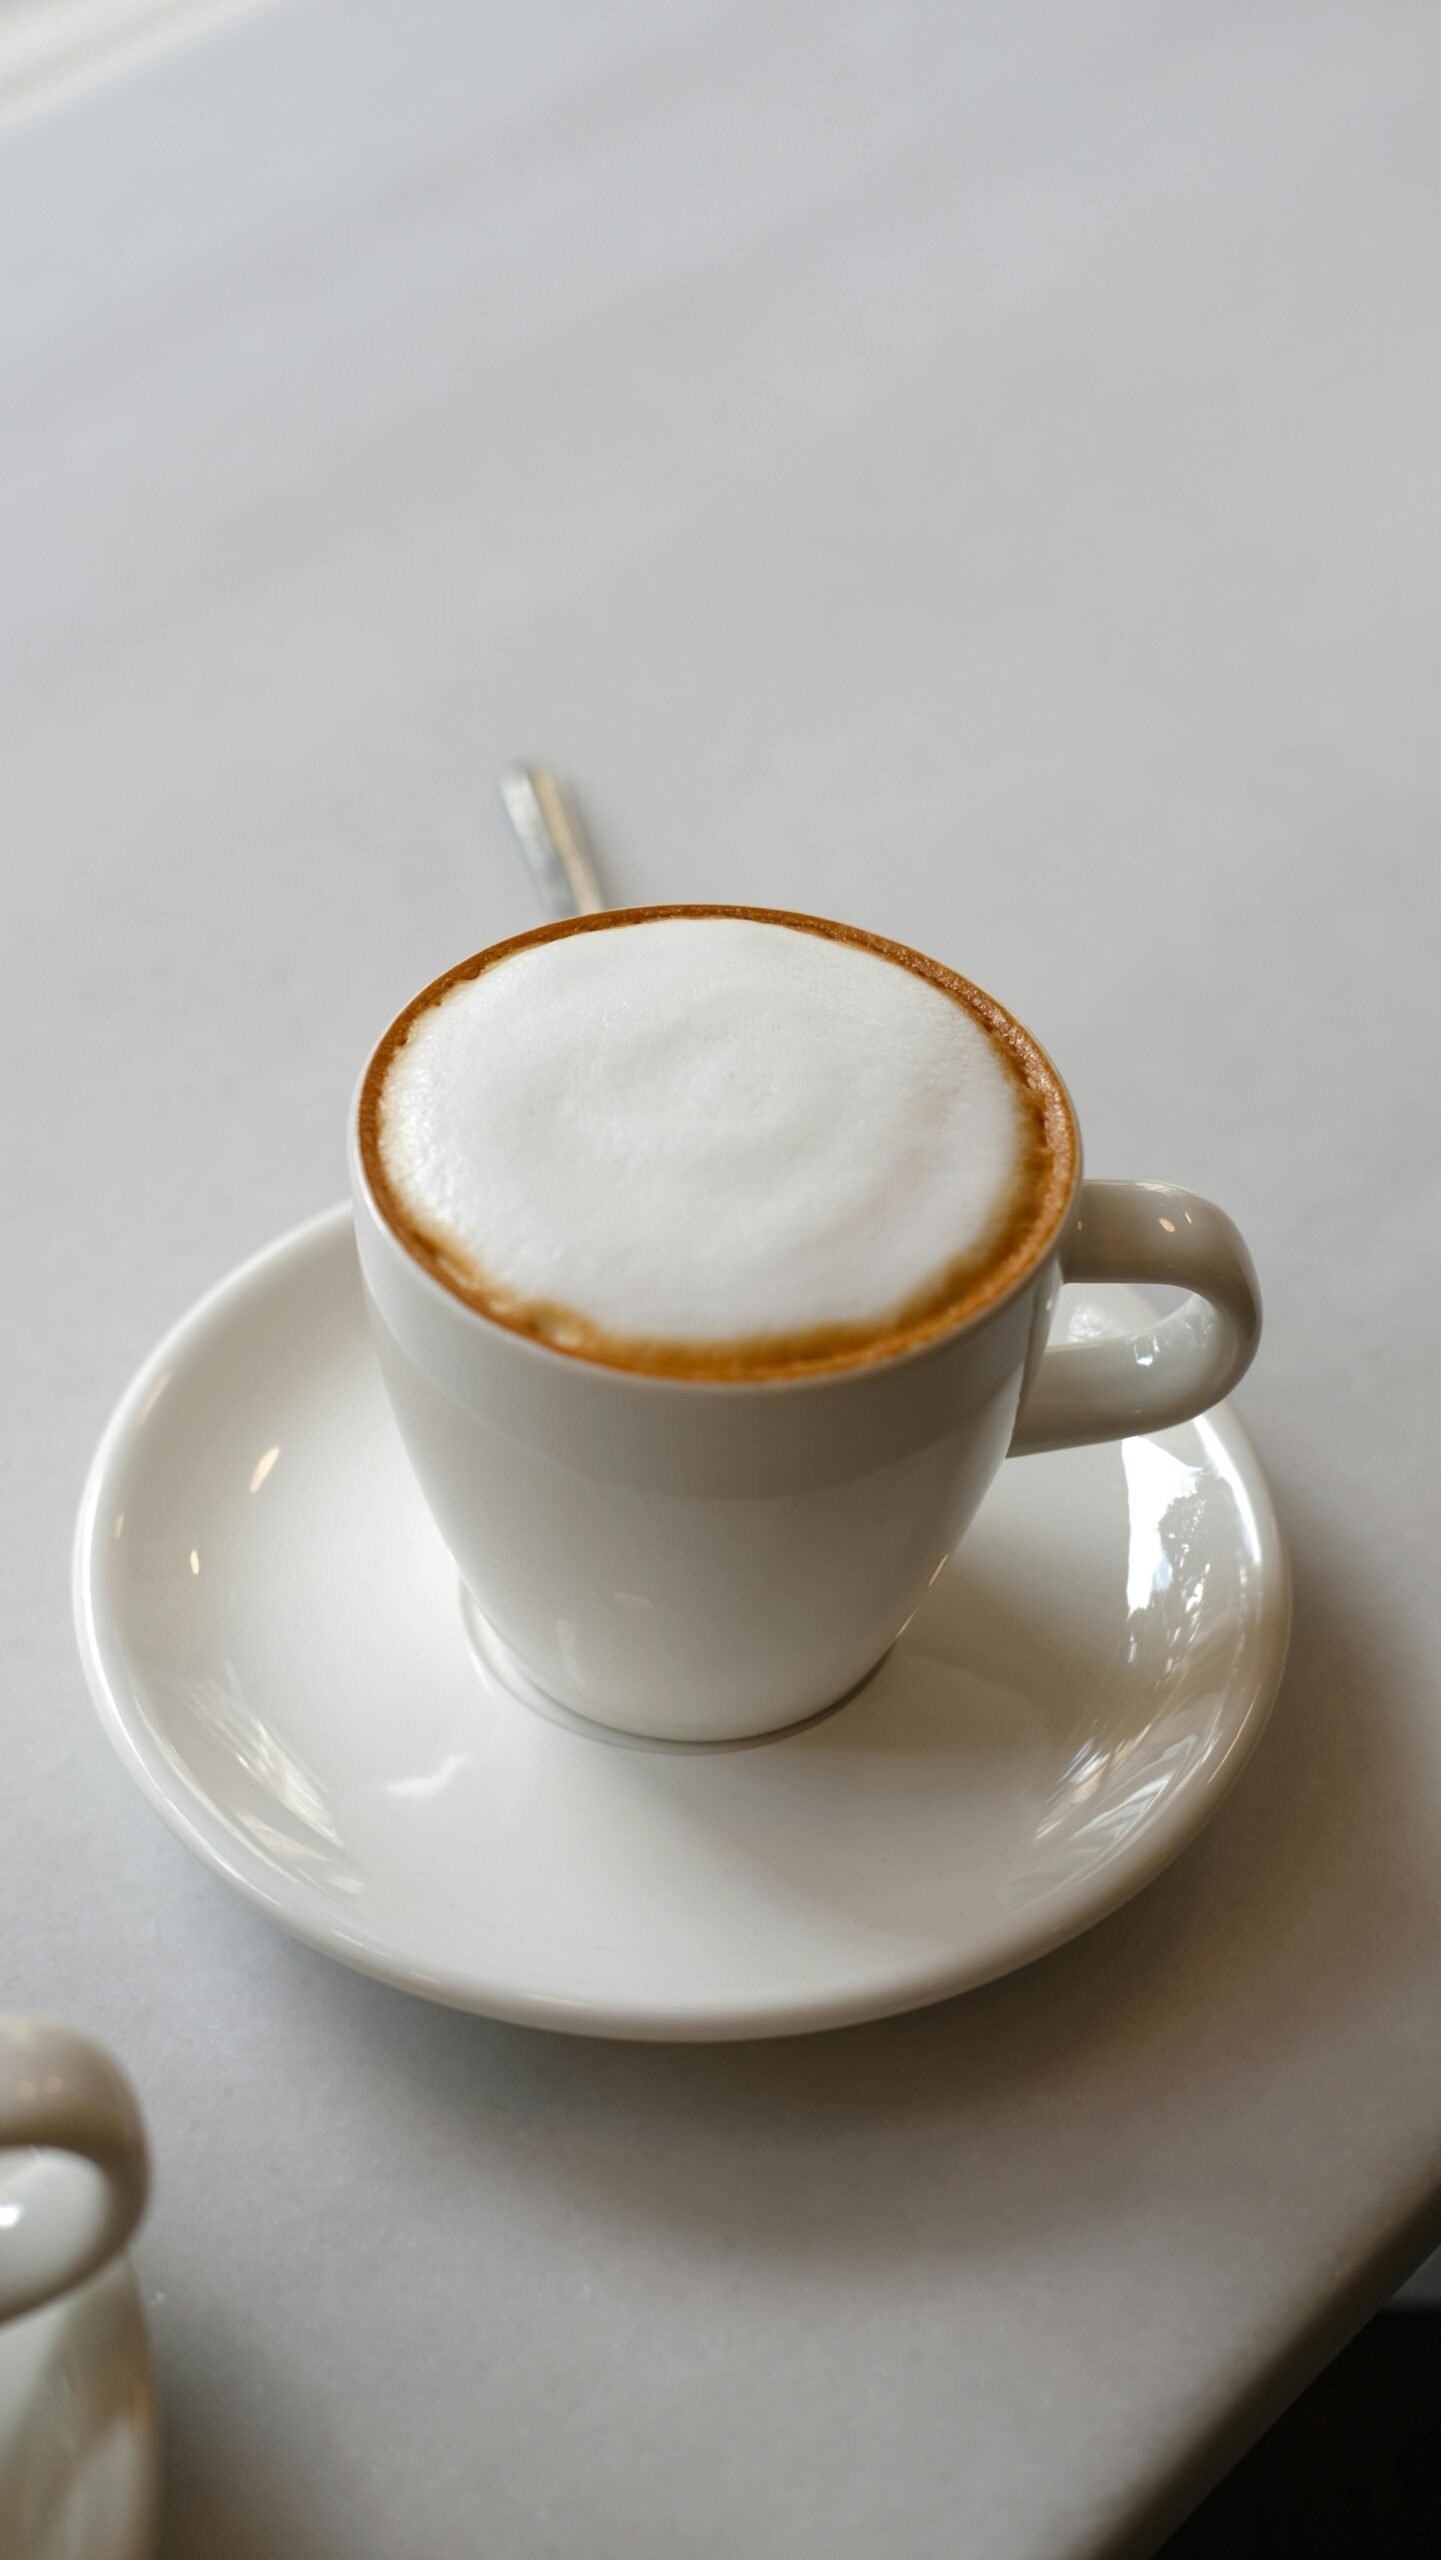
    A steaming cup of cappuccino with frothy milk in a white porcelain cup on a saucer.

    1. Shake It in a Jar

    This is the simplest method and requires only a jar with a lid. A mason jar works perfectly. The downside is that the foam produced by the jar method may not be as silky or stable as other methods.

    • Pour warm milk (not too hot, around 145°F) into a jar, filling it no more than halfway.
    • Secure the lid and shake vigorously for about 30–60 seconds.
    • Let the foam settle for a moment and gently tap the jar on the counter to get rid of any large bubbles. Then pour or spoon it onto your coffee.

    2. Whisk It by Hand

    A simple kitchen whisk can do wonders, and my best guess is that you have one conveniently sitting in your kitchen drawer already. This method produces slightly more refined foam than shaking, but it takes effort and can be inconsistent.

    • Heat your milk to about 145°F.
    • Using a balloon whisk, beat the milk vigorously in a back-and-forth motion until frothy.

    3. Use a French Press

    This method creates a surprisingly fine-textured foam similar to a steam wand. It does require a French press and can be messy.

    • Heat milk to about 145°F.
    • Pour warm milk into a clean French press.
    • Pump the plunger up and down rapidly until the milk doubles in volume and achieves a creamy texture.

    4. Blend It

    An immersion blender or countertop blender can aerate milk effectively and produce stable, thick foam. This method can create large bubbles if over-blended, so you must be careful. Cleanup is more involved and more counterspace is needed.

    • Warm your milk to about 145°F and pour it into a deep container.
    • Blend for 15–30 seconds until foamy.

    5. Use a Handheld Milk Frother

    A handheld frother is an affordable and effective tool. It’s easy, efficient, and gives excellent results. This method requires a small investment in a frother.

    • Heat the milk to about 145°F. And pour it into a frothing cup.
    • Insert the frother just below the surface and turn it on, moving it in circles and keeping it under the surface to create a whirlpool.
    • Froth until you achieve the desired consistency.
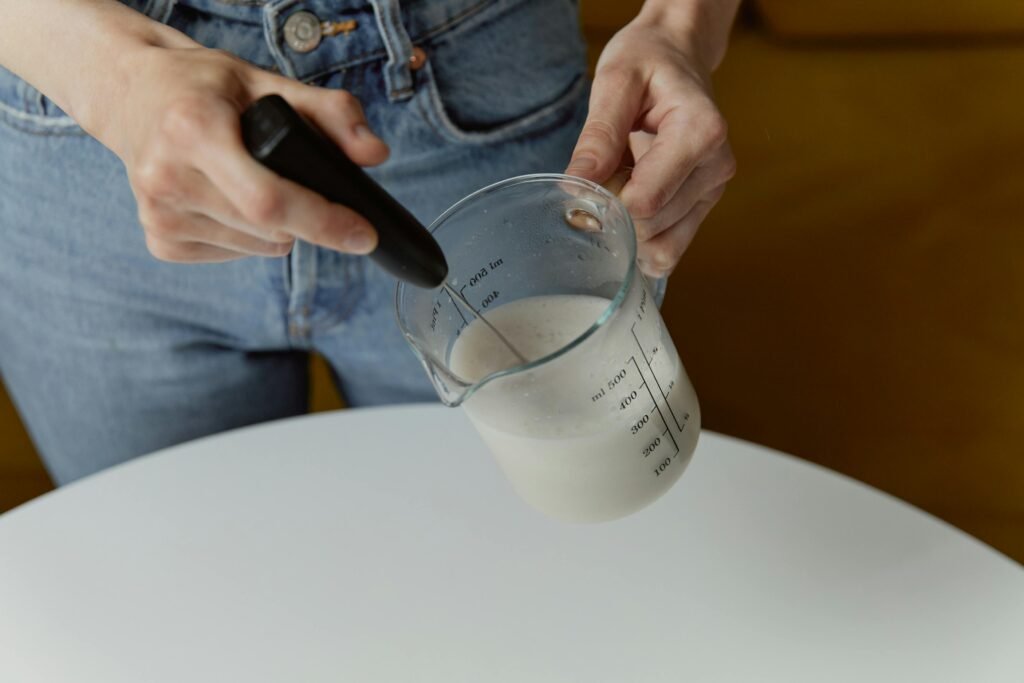
    A person frothing milk with a handheld whisk in a transparent measuring cup, showcasing food preparation.

    -the coffee collect.

  • The Truth About Paper Coffee Cups: A Plastic Lined Reality

    The Truth About Paper Coffee Cups: A Plastic Lined Reality

    The Truth About Paper Coffee Cups: A Plastic Lined Reality

    At first glance, paper coffee cups appear to be a great eco-friendly choice. However, the reality is more complex and rather alarming. Due to greenwashing campaigns, much of the world has fallen victim to the belief that paper cups are eco-friendly alternatives, but what remains hidden is that most disposable paper cups are lined with a type of plastic that have led scientists to pose environmental and health concerns.


    The Hidden Plastic in Paper Cups

    By nature, paper is not waterproof and contact with a liquid should eventually cause paper to lose its form. Because of this, we know that something has to be added to paper coffee cups in order for them to fulfill their job of being a cup. This “something” is a thin layer of plastic called polyethylene plastic, which is added to make paper cups waterproof and able to retain their shape.

    While this design seems practical, it complicates health implications and recycling efforts.

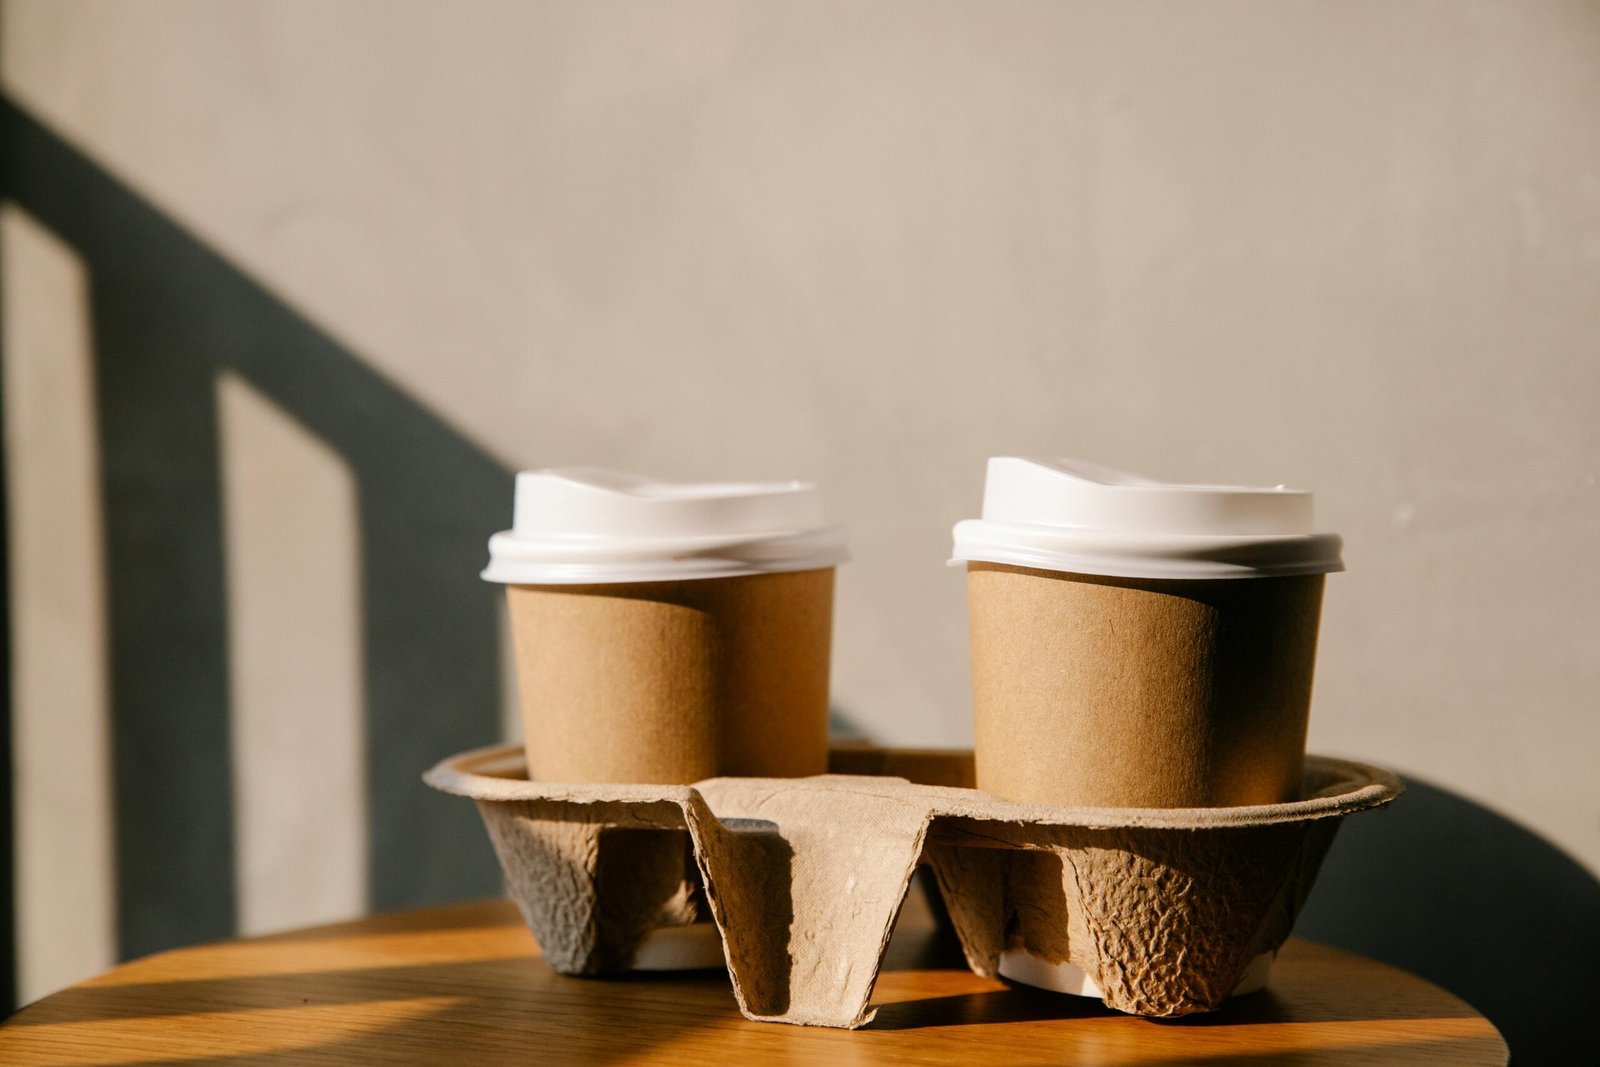
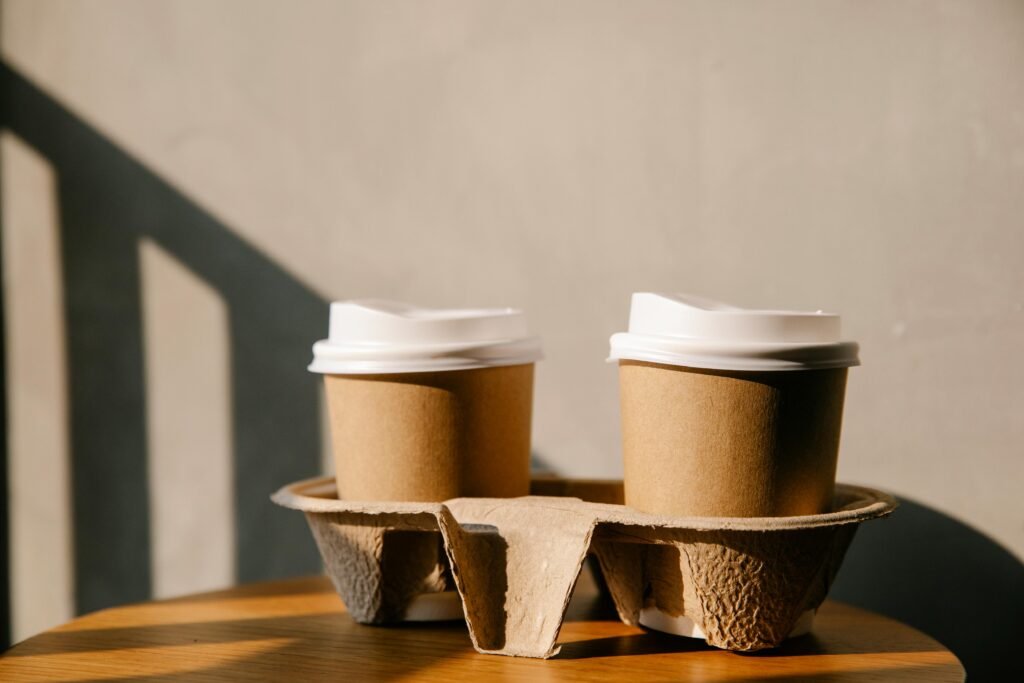
    Two disposable coffee cups on a table with soft sunlight creating shadows, emphasizing eco-friendly packaging.

    Health Implications

    Recent studies have raised concerns about the health effects of polyethylene-lined cups. When exposed to hot liquids, these linings start degrading instantly, releasing microplastics and other harmful substances into the beverage. Research published in Environmental Science & Technology found that common single-use consumer plastic products, including polyethylene-lined paper coffee cups, can release trillions of sub-100 nm nanoparticles per liter into water during normal use. If you compare the number of these particles to the number of cells in the human body, the ratio is about one plastic particle for every seven cells in your body.

    These particles are small enough that your cells could potentially absorb them, which raises concerns about their impact on human health. The results of ingesting microplastics and nanoplastics—like those released from polyethylene-lined paper cups—is still being studied, but researchers have identified several potential health risks including Cellular Damage & Inflammation, Chemical Exposure, Digestive & Gut Health Issues, Potential for Long-Term Accumulation, and Links to Chronic Diseases.


    Recycling Efforts for Paper Coffee Cups

    Although paper cups are often marketed as recyclable, the reality is more complicated. The polyethylene lining is tightly bonded to the paper, making it difficult to separate the materials. Most standard recycling facilities aren’t equipped to process these mixed materials, meaning the majority of paper cups end up in landfills or incinerators instead of being properly recycled.

    Even in places where specialized recycling facilities exist, the process is expensive and inefficient. A 2017 study by the UK-based Paper Cup Recovery and Recycling Group (PCRRG) found that while 2.5 billion paper cups were used in the UK each year, only 1 in 400 were being properly recycled due to these technical challenges. Because most paper coffee cups don’t get recycled, they often break down in landfills or the environment, where they release microplastics and chemical pollutants over time and can contaminate the natural ecosystem.

    Always Recycle

    Although the recycling process for paper coffee cups is complicated, it is still doable. In fact, the technology and infrastructure to expand paper cup recycling is evolving rapidly and there are approximately 40 mills in North America that properly recycle paper cups. However, even if a paper cup is recyclable after use, it is still important to be aware of the possible health effects to your body that we previously discussed.


    Industry Responses

    The coffee industry is actively seeking solutions to this issue.

    For instance, Starbucks has reintroduced ceramic mugs and glassware for in-store orders and is offering free refills for certain beverages to encourage reusable options.

    Additionally, some cities are implementing reusable cup programs. Petaluma, California, launched a city-wide initiative where customers can use and return reusable cups at participating cafes, aiming to reduce single-use cup waste.


    The Answer is Reusable Cups

    Reusable coffee cups are a powerful solution to the polyethylene plastic that threatens our health and our planet. Using a personal reusable cup made from safe materials eliminates the risk of ingesting microplastics and harmful chemicals that can leach from disposable cup linings. By investing in a reusable cup, you reduce the demand for wasteful, plastic-lined cups and help decrease the amount of plastic waste entering our landfills and oceans. Additionally, many coffee shops offer discounts to customers who bring their own cups, leading to savings that build up over time.

    Click Here to Read: Easy Ways to Make Your Coffee Routine More Sustainable


    We value the health of the coffee-loving community and the health of the earth where we grow our coffee.

    Let’s be a community of stewards.

    -the coffee collect.

  • How to Make Authentic Turkish Coffee: A Beginner’s Guide

    How to Make Authentic Turkish Coffee: A Beginner’s Guide

    How to Make Authentic Turkish Coffee: A Beginner’s Guide

    We’ve made a beginners-friendly guide for making authentic Turkish coffee; one of the world’s oldest and most traditional coffee-brewing methods.


    What is Turkish Coffee?

    Turkish coffee originated in the Ottoman Empire in the 16th century. Since then, it has since become a cultural staple in many countries, including Turkey, Greece, and throughout the Middle East and Balkans.

    Unlike other brewing methods, Turkish coffee uses ultra-finely ground coffee beans, resulting in a powder-like consistency. The coffee is brewed unfiltered in a special pot called a cezve or ibrik and served directly in small cups, allowing the grounds to settle at the bottom. This unfiltered preparation produces a bold, robust flavor that is meant to be intense and gritty. The coffee is often sweetened during brewing and served alongside a glass of water and a sweet treat like Turkish delight.

    Close-up of a traditional Turkish coffee set featuring a copper pot and a sweet treat.


    What You’ll Need

    1. Cezve / Ibrik: This is the small pot that is key to make authentic Turkish coffee. It has a long handle, wide bottom, and narrow neck, which allows for the coffee to heat up evenly and produce a rich and smooth flavor.
    2. Coffee Scale: A scale will enable you to get the perfect ratio every time.
    3. Finely Ground Turkish Coffee: The coffee grounds must have an extra-fine, powder-like consistency–it should be finer than espresso grounds! Freshly grinding your beans is always the best choice for the most flavorful outcome. Make sure your grinder is on the finest setting! However, if you do not have a grinder, there are options to buy pre-ground Turkish coffee.
    4. Cold Water: The water should be cold to start, and it should be water that actually tastes good on its own.
    5. Sugar or Spices (Optional): It is not uncommon for sugar to be added during the brewing process for Turkish coffee. Depending on your taste, you can add sugar or other spices, like cinnamon, during the brewing process to achieve a specific flavor. It is also important to note that milk or cream is never added to Turkish coffee.
    6. Heat Source: You will need a gas burner or stove for this process.
    7. Small Coffee Cups: This coffee is served in small cups, similar to espresso cups.

    How to Make Affogato at Home: A Simple Dessert Coffee Recipe


    Step-by-Step Instructions

    1. Pre-heat

    • Turn your stove or gas burner on to a low heat.

    2. Measure Your Ingredients

    Turkish coffee uses a 1:9 ratio, but is usually not precisely measured. Here are some measuring guidelines:

    • Use 1 heaping teaspoon of Turkish coffee per serving.
    • Measure 60-90 ml of cold water per serving.

    3. Add Sugar (Optional)

    Turkish coffee is sweetened during brewing, not after. Because of the drink’s natural bitterness, sugar is commonly added, but it is not necessary.

    • No sugar: Sade
    • Low sugar: Az şekerli (½ teaspoon per cup)
    • Medium sugar: Orta şekerli (1 teaspoon per cup)
    • Sweet: Şekerli (1½ – 2 teaspoons per cup)

    4. Mix the Ingredients

    • Combine the cold water, coffee, and sugar (if using) in the cezve. Stir well before heating.

    5. Heat Gently

    • Place the cezve on low heat. Do not stir while brewing to allow the coffee grounds to settle.
    • Watch closely as the coffee starts to foam but avoid letting it boil. Little bubbles are okay, but if it starts to boil, gently pull the cezve and hold it a few inches above the heat source.

    6. Catch the Foam

    • After a couple minutes, you want to see the foam rising to the top of the cezve. Once the foam reaches the very top, remove the cezve from the heat.
    • Spoon the foam into each cup—this is a hallmark of Turkish coffee.

    7. Repeat Heating

    • Return the cezve to the heat to produce more foam. Remove it before boiling again. Repeat 2-3 times for richer foam.

    8. Pour and Serve

    • Serve without stirring and pair with a glass of water.
    • Carefully pour the coffee into small Turkish coffee cups. Do not filter the grounds out. Let it rest for about two minutes to finish brewing and to allow the grounds to settle.
    • Do not add any sweetener at this point; authentic Turkish coffee is sweetened during the brewing phase only.

    9. Enjoy

    • The small cup of water served with Turkish coffee is meant to be a palate cleanser and should be drank as you wait for the coffee to cool and the grounds to settle.
    • As you sip on your coffee, the grounds should remain on the bottom, and you should not drink them.
    • To balance its bold flavor, pair the coffee with traditional Turkish delight!
    An elegant setup of Turkish coffee with porcelain cups by a window.

    Tag us on Instagram @the.coffee.collect to share your Turkish coffee experience with the coffee community!

    Remember, the best way to enjoy coffee is surrounded by friends 🙂

    -the coffee collect.

  • Top 10 Coffee Accessories Every Enthusiast Needs | 2025

    Top 10 Coffee Accessories Every Enthusiast Needs | 2025

    Top 10 Coffee Accessories Every Enthusiast Needs | 2025

    Whether you’re here looking to upgrade your own coffee setup or hunting for the perfect gift for the coffee enthusiast in your life, this list has you covered. The right tools and accessories can elevate your experience, making every sip a masterpiece. Here is a collection of top 10 coffee accessories every enthusiast should have to make their coffee routine exceptional:


    1. Vacuum Sealed Coffee Container

    Freshness is the secret ingredient to a great cup of coffee. Without proper storage, coffee can go bad and loose its flavor, leaving you with an unpleasant taste. A vacuum sealed coffee container prevents oxidization by locking out air. This extends your coffee grounds or coffee beans’ shelf life and also preserves their delicious aroma and flavor. Look for a model with an airtight seal and one-way valve to ensure your coffee stays at peak freshness.


    2. Filter Case

    Keep your coffee filters neat and accessible with a dedicated coffee filter case. These compact cases are designed to store filters securely, protecting them from moisture and damage. There are many styles available that will both elevate and organize your coffee bar.


    3. Ice Tray

    A quality ice tray is the perfect accessory for cold brew and iced coffee lovers who want full-flavored iced coffee every time. These trays allow you to freeze coffee into cubes, so your iced coffee won’t dilute as the ice melts. Ice will also elevate the presentation of your coffee when you consider the ice shape and size. There is a diversity of ice trays available for any occasion, enabling you to make spherical ice, mini ice cubes, or maybe heart-shaped ice for a Valentine’s Day coffee get-together.

    Close-up of a refreshing iced cold brew coffee in a glass with sunlight and shadows.

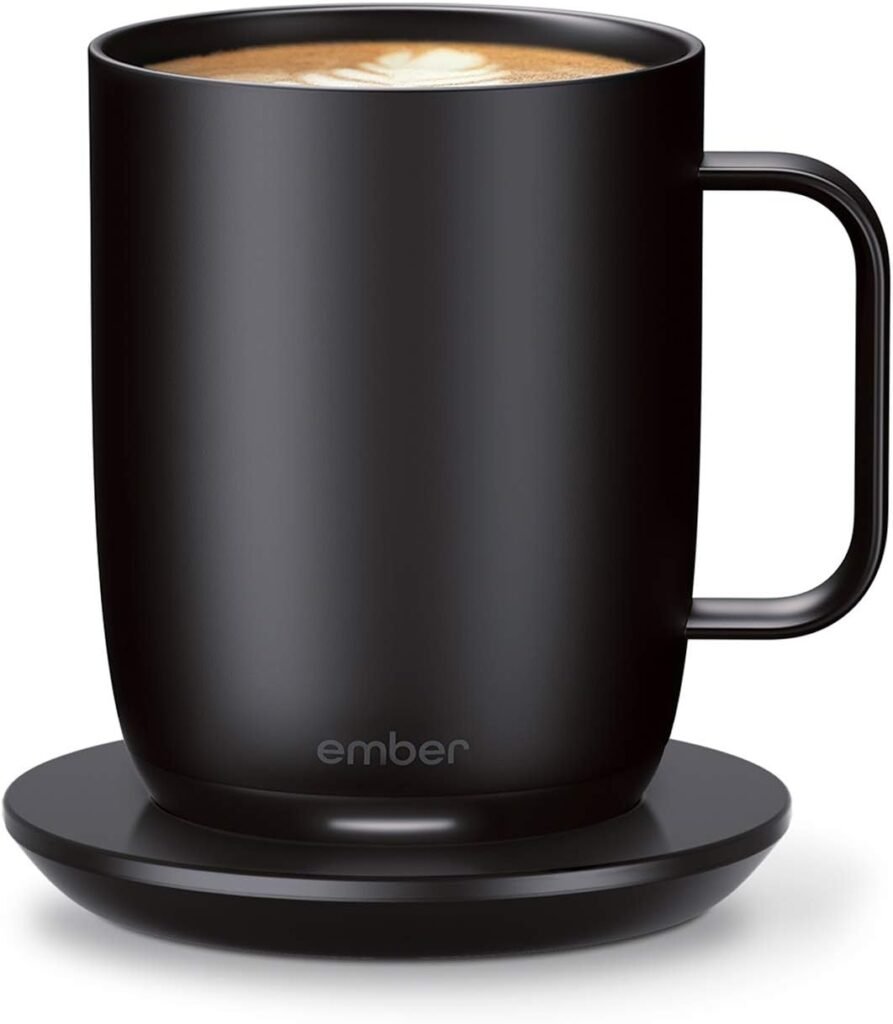
    4. Coffee Mug Warmer

    Coffee going cold is a problem that many of us face. We oftentimes get distracted only to come back to cold coffee before even taking a single sip. Or sometimes we feel the need to rush through a good cup of coffee before it loses its perfect temperature too fast. With a coffee mug warmer, you never have to worry about your coffee going cold again. A coffee mug warmer keeps your brew at the ideal temperature, so you can enjoy it at your own pace. This is perfect for a desktop, ensuring every sip is warm and satisfying, especially during long work sessions.


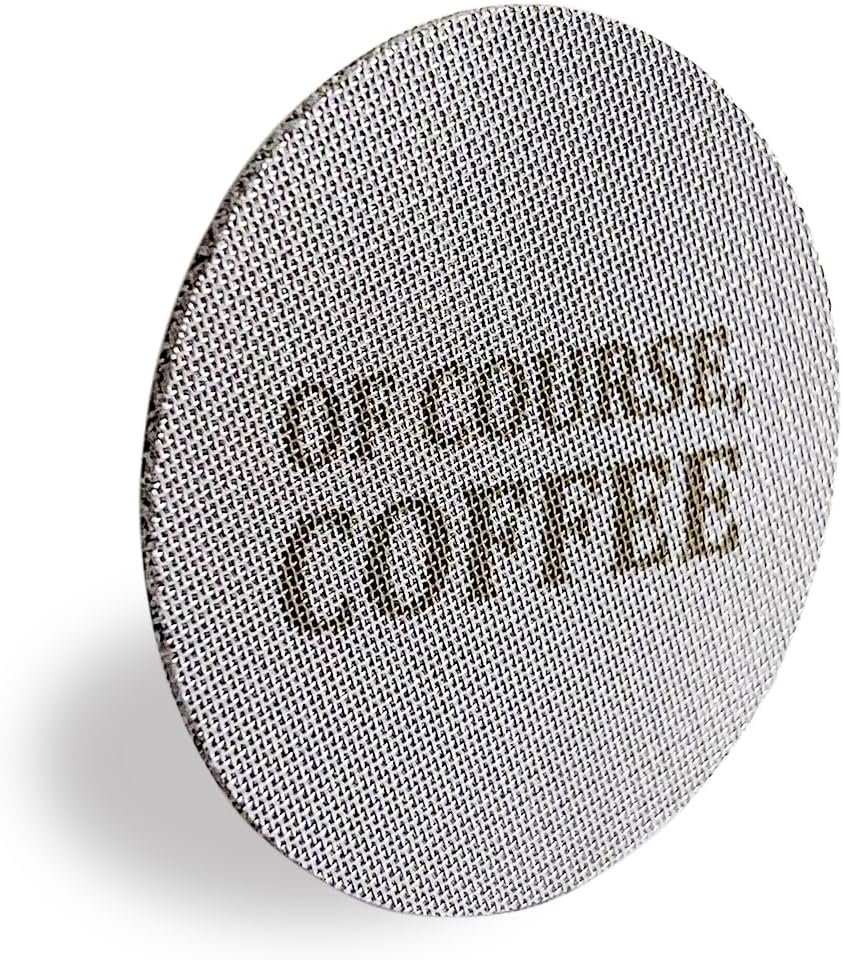
    5. Puck Screen

    For espresso enthusiasts, a coffee puck screen is a simple, yet powerful, game-changer. This small reusable tool evenly distributes water over the coffee grounds, resulting in consistent and rich espresso shots. Puck screens come in many sizes, so you must be sure to purchase one that matches the size of your espresso machine’s puck. Including a puck screen in your espresso routine comes with many delicious benefits without adding extra effort or time.


    6. Bean Caddy

    Instead of weighing out your coffee beans or blends every day, store them in a bean caddy that has beans that are already weighed and read-to-go. Sleek coffee bean caddies combine function and aesthetics to enhance your coffee bar. With the element of an exhaust valve, these containers are designed to protect your beans from gas release, air, and moisture, ensuring they stay fresh and ready for brewing.


    7. Latte Stencils

    Bring out your inner barista with latte stencils. These fun tools allow you to create and experiment with intricate designs on your coffee, turning every cup into a work of art. They are perfect to impress guests and add a personal touch to your coffee creations.


    8. Milk Frothing Wand

    A frothing wand is the secret weapon for baristas. With just a few seconds of frothing, you can create velvety microfoam for your lattes, creamy froth for cappuccinos, or even whip up silky cold foam for your iced coffee creations. Easy to use and compact, a frothing wand is perfect for elevating your coffee artistry without taking up precious counter space. Plus, it opens the door to experimenting with new textures, flavors, and stunning latte art.


    9. Coffee Mug Display

    Show off your favorite mugs with a coffee mug holder or display rack. This accessory adds a touch of charm to your kitchen or coffee nook while keeping your mugs within easy reach. There are many styles available, making it easy to find your perfect fit.


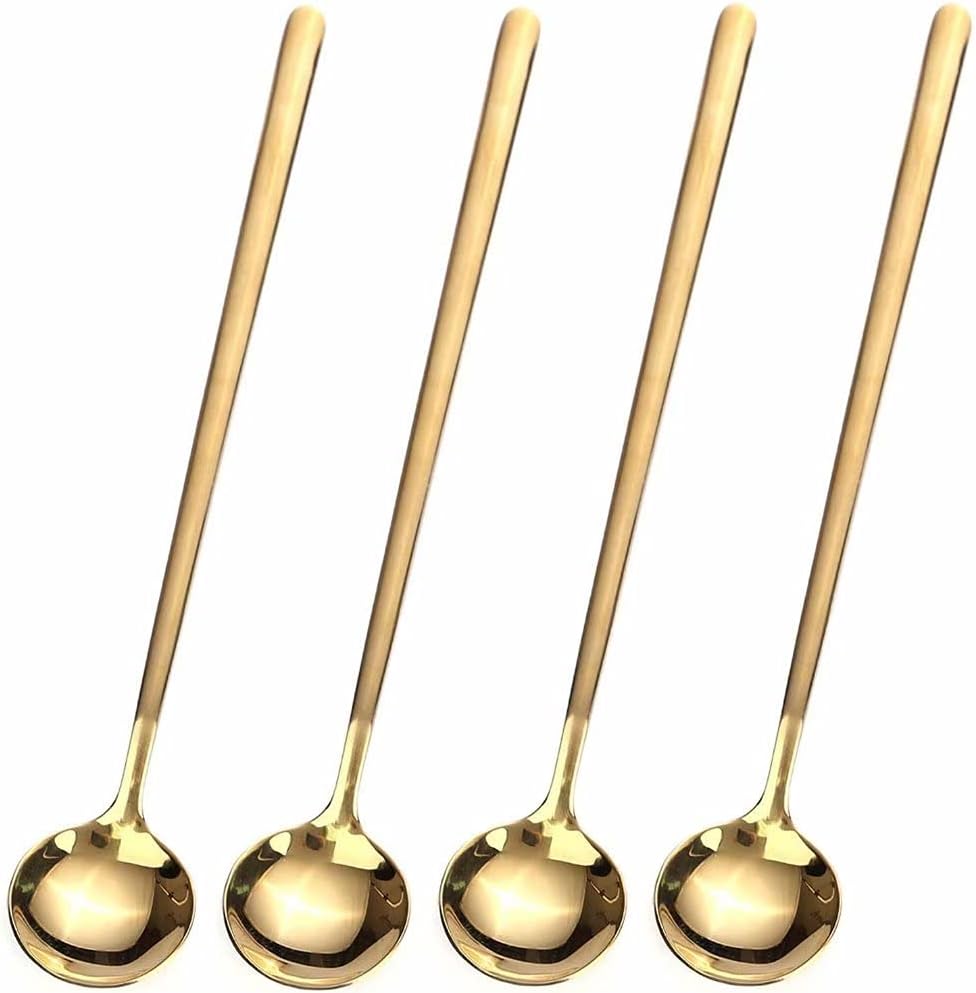
    10. Coffee Stirring Spoons

    Decorative stirring spoons enhance your brewing ritual with a touch of sophistication. These elegantly designed spoons are ideal for mixing milk, sugar, or syrups into your coffee. They are also the perfect touch for coffee and tea parties.


    Click Here to Read: Coffee Products We Are Currently Loving


    Start building your perfect coffee toolkit today!

    -the coffee collect.